Project 3.1.1: AUTOMATIC CURTAIN CONTROLLER
| Description | This project automatically opens and closes curtains based on ambient light levels. An LDR detects the surrounding brightness, while a potentiometer allows the user to adjust the light sensitivity threshold. A pushbutton provides manual override, and an RGB LED indicates the current system status. |
|---|---|
| Use case | Smart homes, automated curtains, energy-saving systems, daylight management. |
Components (Things You will need)
 |
 |
 |
 |
 |
 |
 |
 |
 |
|---|---|---|---|---|---|---|---|---|
Building the circuit
Things Needed:
- Arduino Uno
- Ultrasonic sensor
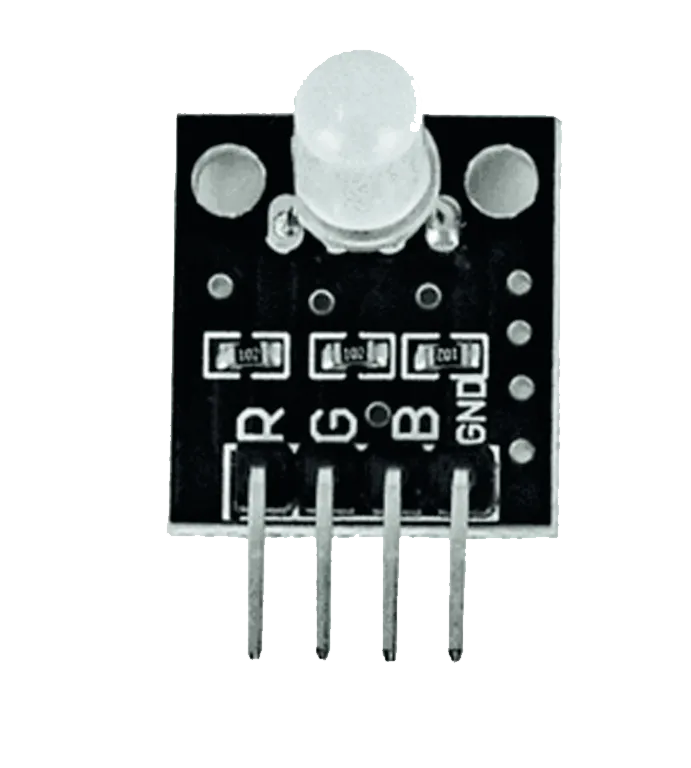
- RGB module
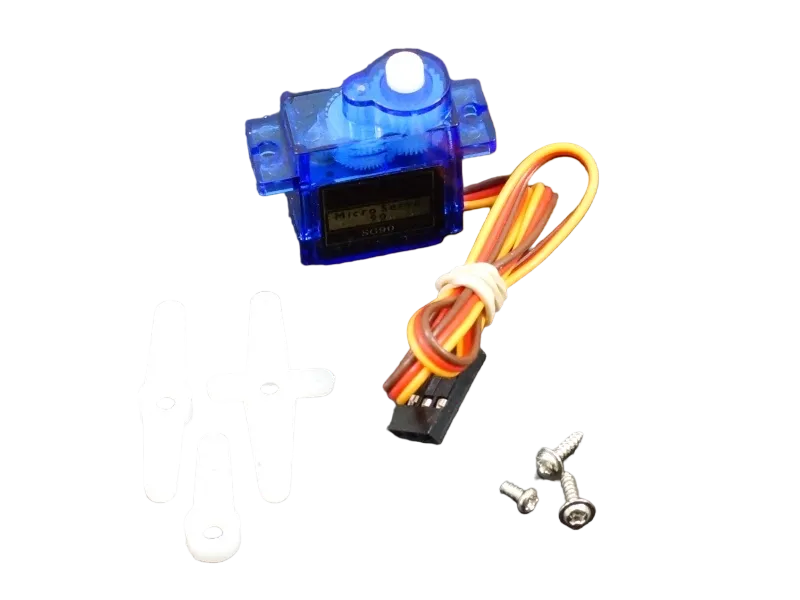
- Servo motor
- Breadboard
- Jumper wires
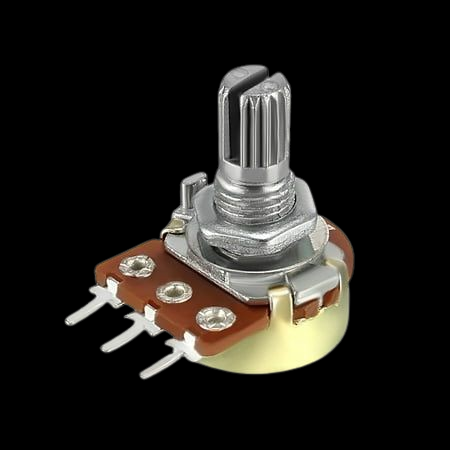
- Potentiometer
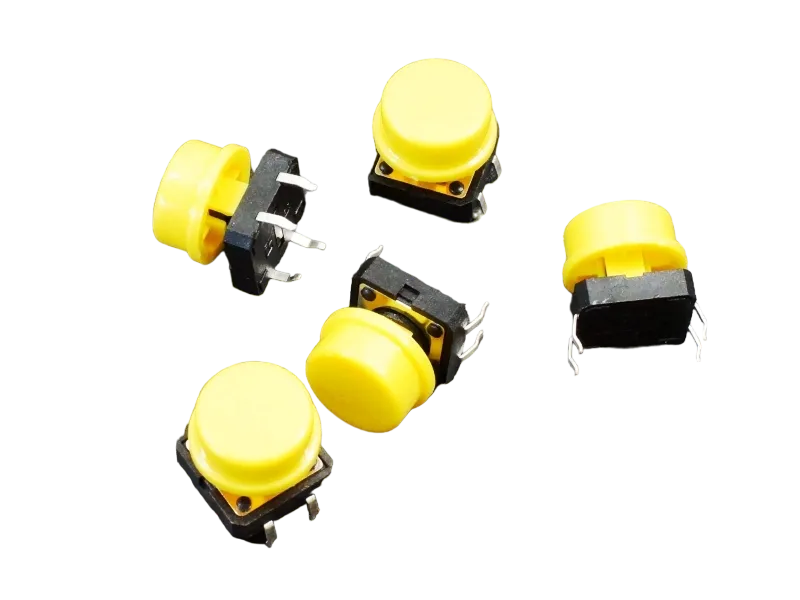
- Push Button
Mounting the component on the breadboard
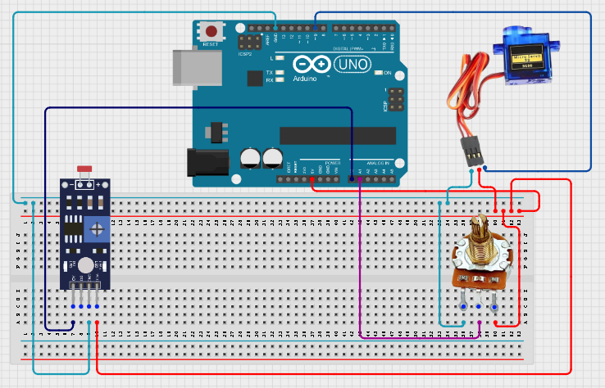
Step 1: Connect one jumper wire from the 5V pin on the Arduino Uno to the positive rail of the breadboard and connect another jumper wire from the GND pin on the Arduino Uno to the negative rail of the breadboard
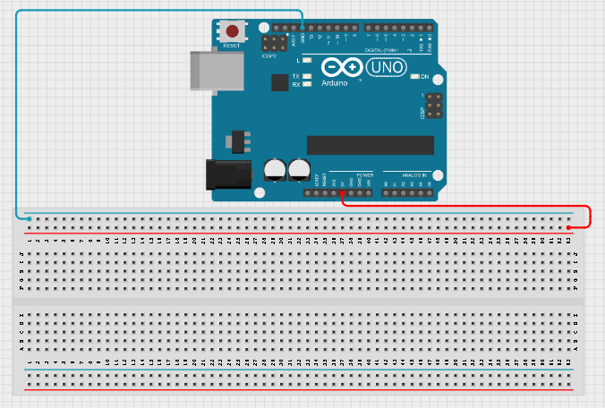 .
.
WIRING THE CIRCUIT
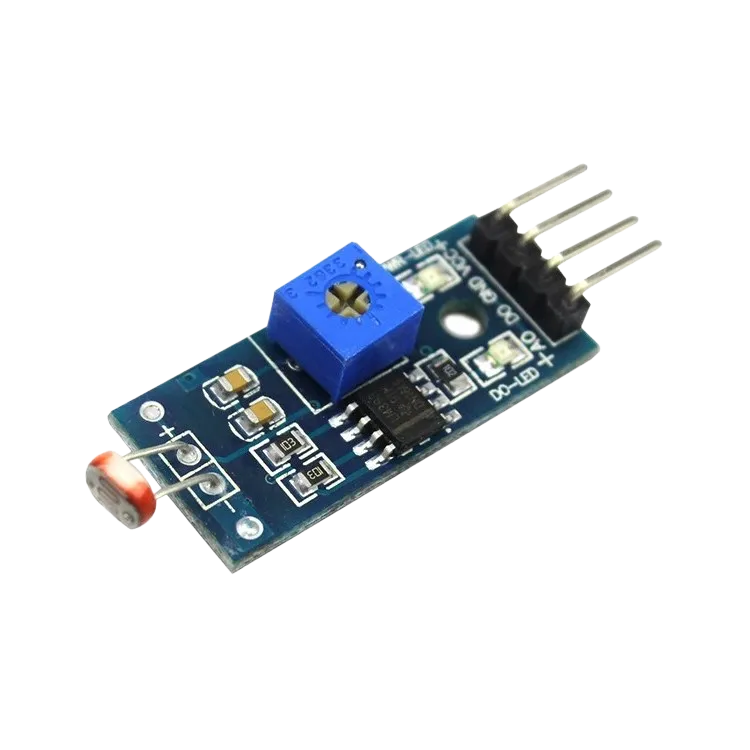
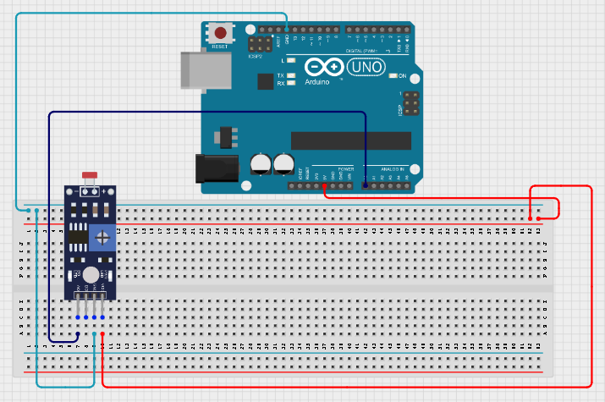
Step 2: Place the LDR Module on the breadboard Connect the LDR Module: • VCC → 5V • GND → GND • AO → A0 Use the AO (Analog Output) pin because the project requires continuous light-level readings.
 .
.
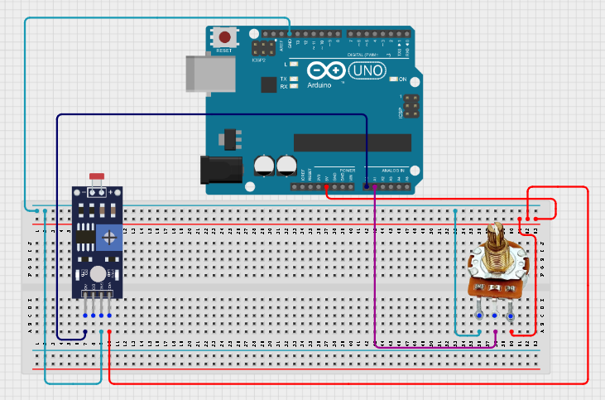
Step 3: Place the potentiometer on the breadboard Connect the potentiometer: • Left pin → 5V • Right pin → GND • Middle pin → A1
 .
.
Step 4: Connect the servo motor: • Signal (Yellow) → Pin 9 • VCC → 5V • GND → GND
 .
.
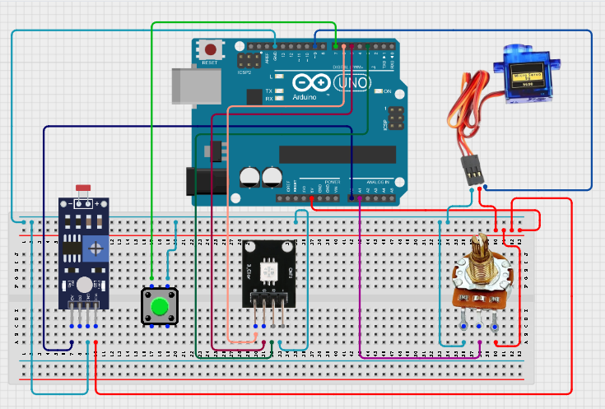
Step 5: Place the pushbutton on the breadboard Connect the pushbutton: • One leg → Pin 7 • Other leg → GND The code uses INPUT_PULLUP, so no external resistor is required.
 .
.
Step 6: Place the RGB Light on the breadboard Connect the RGB Light: • Red pin → Pin 3 • Green pin → Pin 5 • Blue pin → Pin 6 • Common Cathode (-) → GND
 .
.
PROGRAMMING
Step 1: Open your Arduino IDE. See how to set up here: Getting Started.
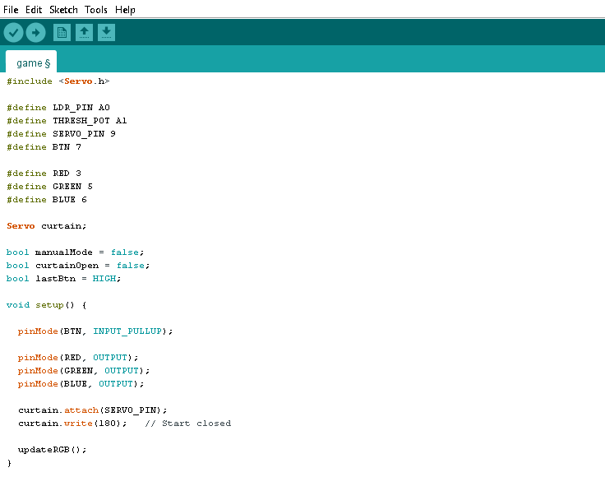
Step 2: Type the following code in your arduino IDE at the top of "void setup() { }" function as shown in the picture below.
Step 7: Save your code. See the Getting Started section
Step 8: Select the arduino board and port See the Getting Started section:Selecting Arduino Board Type and Uploading your code.
Step 9: Upload your code. See the Getting Started section:Selecting Arduino Board Type and Uploading your code
OBSERVATION
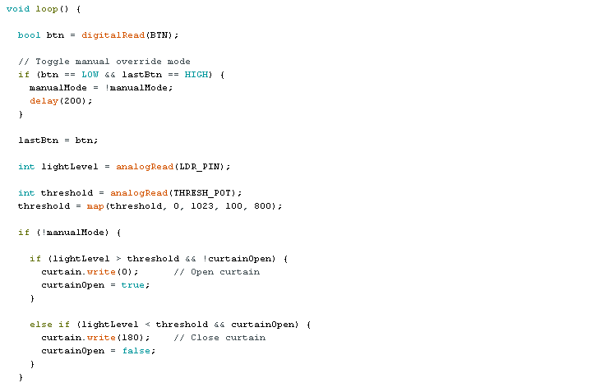
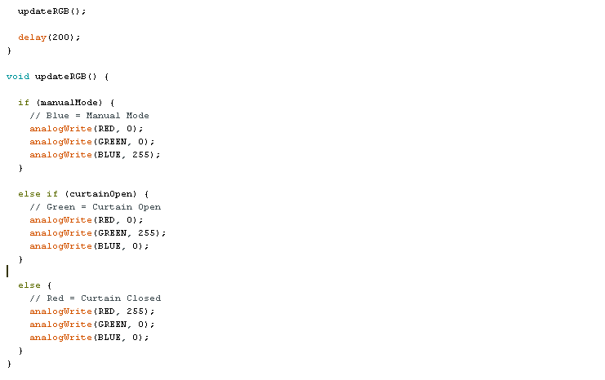
• Curtains open automatically when light levels increase beyond the selected threshold. • Curtains close automatically when light levels drop below the selected threshold. • The potentiometer changes the sensitivity of the system. • The RGB LED provides visual status feedback: o Green = Curtain Open o Red = Curtain Closed o Blue = Manual Override Mode • Pressing the pushbutton toggles manual override mode.
CONCLUSION
This project demonstrates automation using light sensing, adjustable threshold control, servo motor actuation, RGB LED status indication, and manual override functionality. It introduces key smart-home concepts including environmental sensing, user calibration, visual feedback, and automatic control systems.