Project 2.6.1: SMART SOUND ALERT SYSTEM
| Description | This project shows how to use an ultrasonic sensor and a buzzer with an Arduino Uno to create a smart sound alert system. When an object comes close to the sensor, the buzzer produces a sound alert. |
|---|---|
| Use case | This project can be used as a simple security or obstacle detection system that alerts users when an object is nearby. |
Components (Things You will need)
 |
 |
 |
 |
 |
 |
|---|---|---|---|---|---|
| ## Building the circuit |
Things Needed:
- 1 Arduino Uno
- 1 Arduino USB cable
- 1 Buzzer
- 1 Breadboard
- 6 Jumper wires
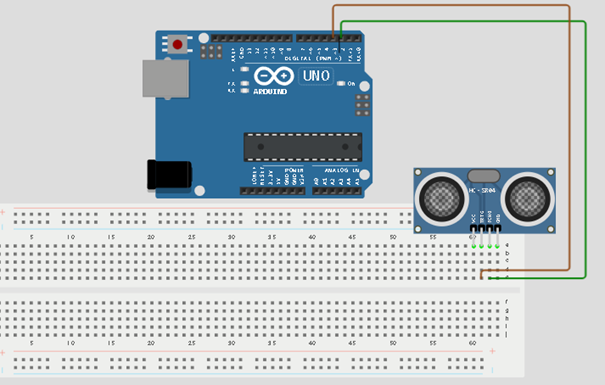
Mounting the component on the breadboard
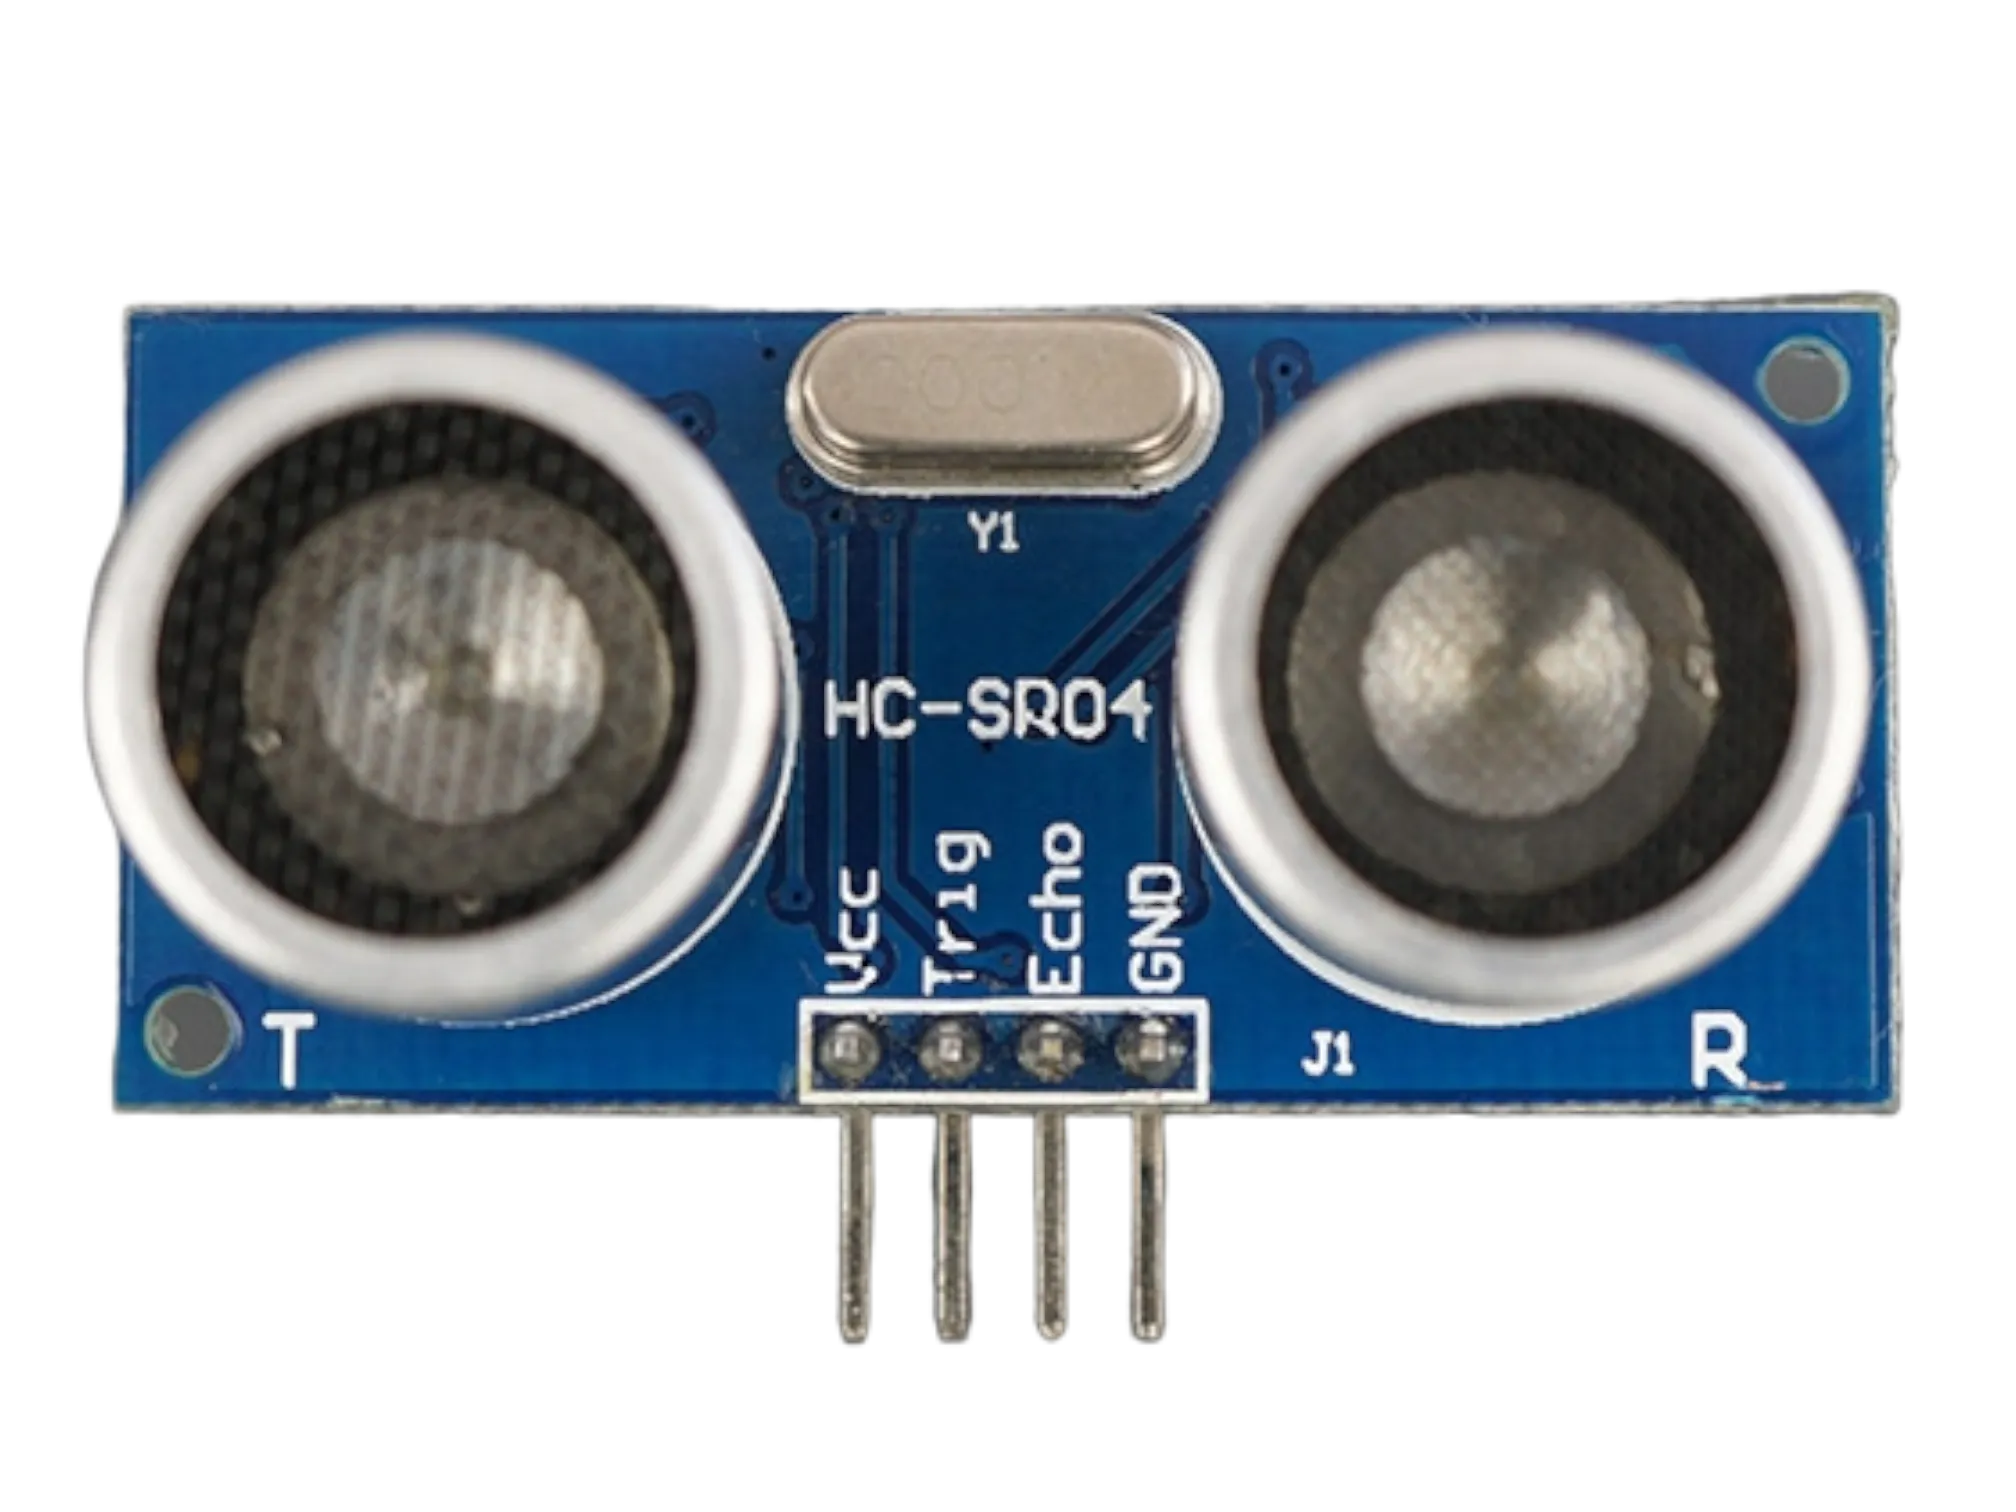
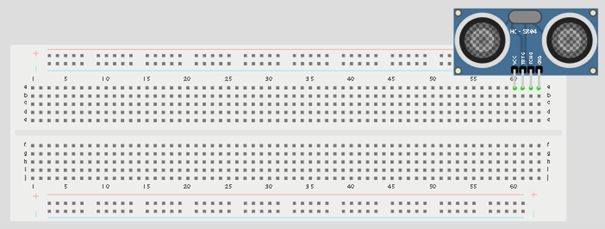
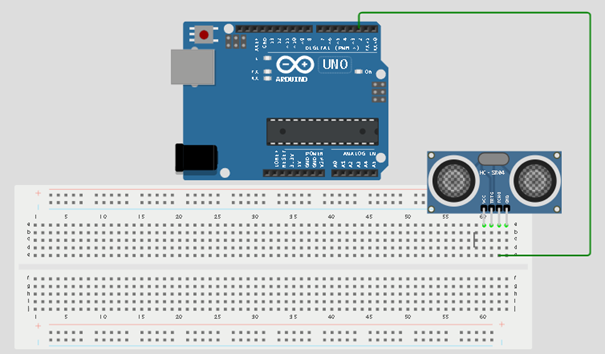
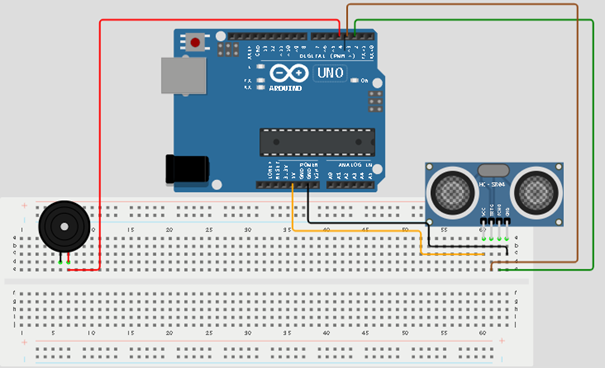
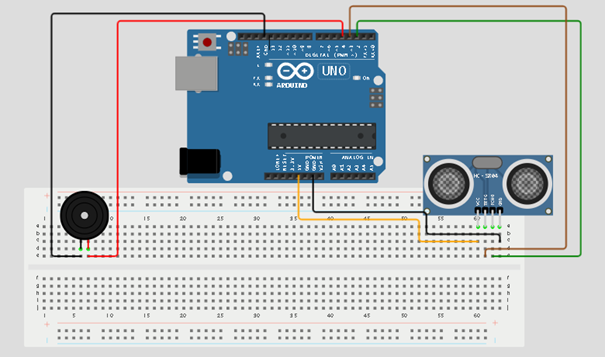
Step 1: Place the ultrasonic sensor on the breadboard.
 .
.
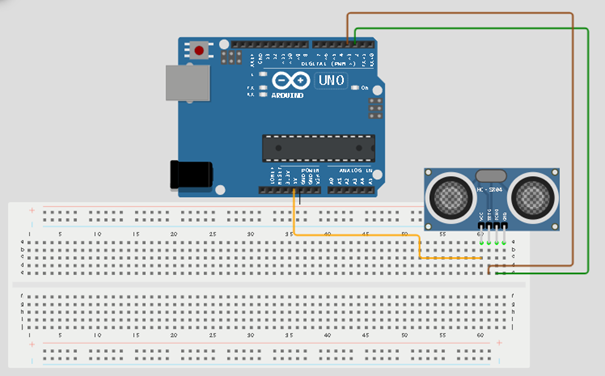
Step 2: Connect the Echo pin of the ultrasonic sensor to pin 2 on the Arduino Uno.
 .
.
WIRING THE CIRCUIT
Step 3: Connect the Trig pin of the ultrasonic sensor to pin 3 on the Arduino Uno.
 .
.
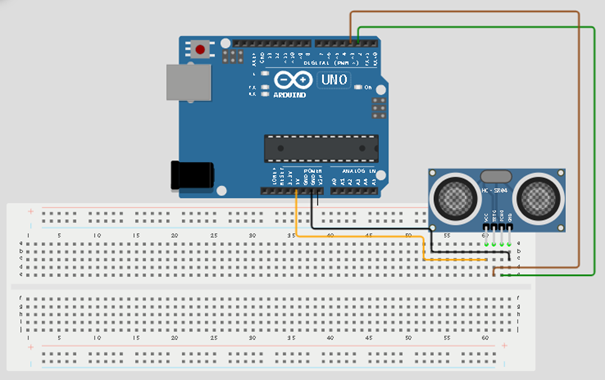
Step 4: Connect the VCC pin of the ultrasonic sensor to the 5V pin on the Arduino Uno.
 .
.
Step 5: Connect the GND pin of the ultrasonic sensor to GND on the Arduino Uno.
 .
.
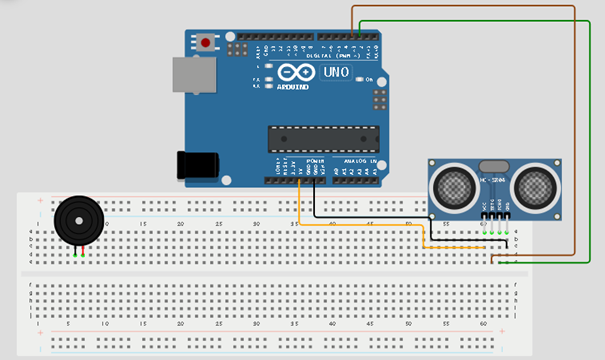
Step 6: Place the buzzer on the breadboard. The longer pin is positive while the shorter pin is negative.
 .
.
Step 7: Connect the positive pin of the buzzer to pin 4 on the Arduino Uno.
 .
.
Step 8: Connect the negative pin of the buzzer to GND on the Arduino Uno.
 .
.
PROGRAMMING
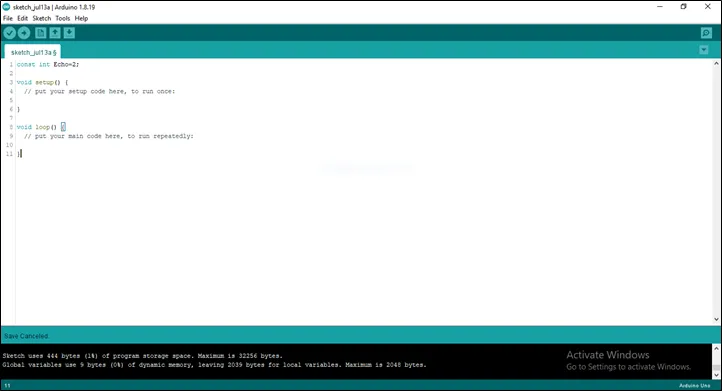
Step 1: Open your Arduino IDE. See how to set up here: Getting Started.
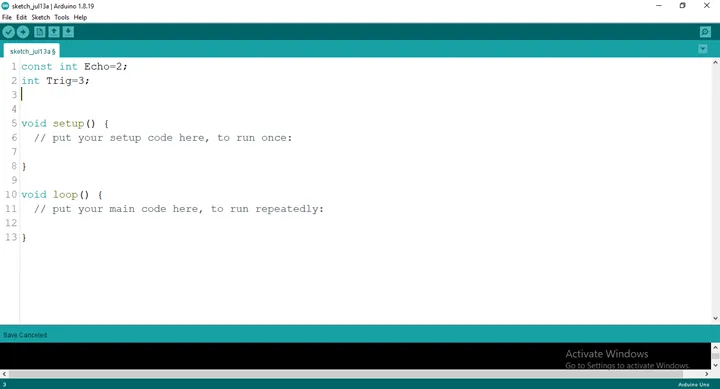
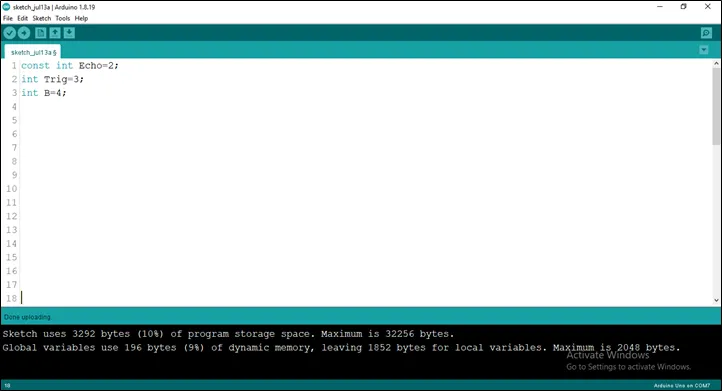
Step 2: Type before the void setup(){}const int Echo = 2; as shown in the picture below.
 .
.
Step 3: Type before the void setup(){} int Trig = 3; as shown in the picture below.
 .
.
Step 4: Type before the void setup(){} int B = 4; as shown in the picture below.
 .
.
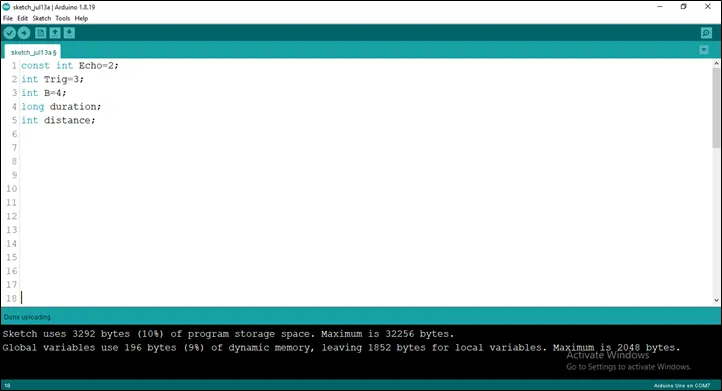
Step 5: Type before the void setup(){}
``` cpp
long duration;
int distance;
```
as shown in the picture below.
 .
.
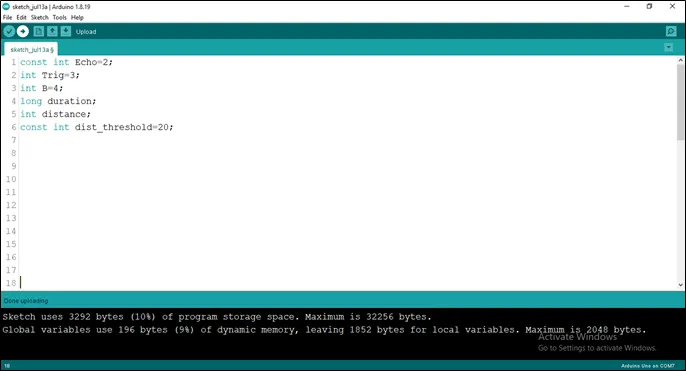
Step 6: Type before the void setup(){} const int dist_threshold = 20; as shown in the picture below.
 .
.
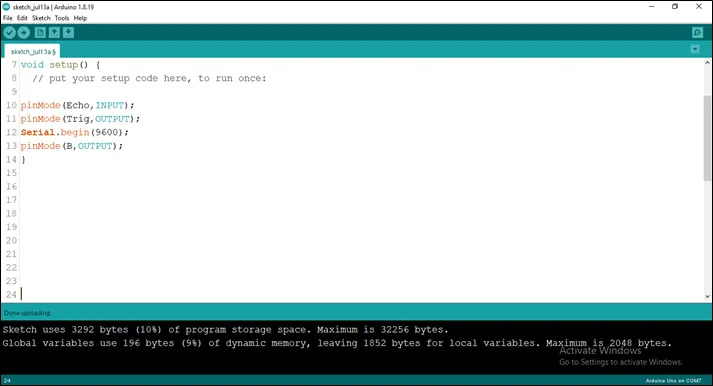
Step 7: After the (void setup ()) within the curly brackets type
``` cpp
pinMode (Echo, INTPUT);
pinMode (Trig, OUTPUT);
Serial.begin (9600);
pinMode (B, OUTPUT);
```
 .
.
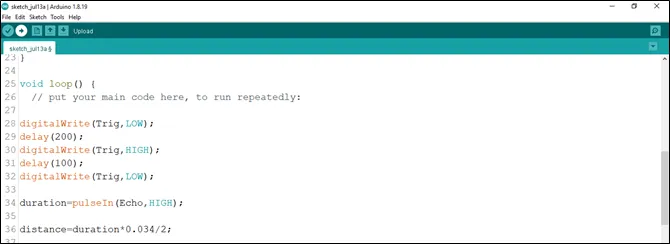
Step 8: After the (void loop ()) within the curly brackets type
``` cpp
digitalWrite (Trig, LOW);
delay (200);
digitalWrite (Trig, HIGH);
delay (100);
digitalWrite (Trig, LOW);
duration = pulseIn (Echo, HIGH);
distance = duration * 0.034/2;
```
 .
.
Step 9: Type Function
``` cpp
if (distance < dist_threshold)
{
    digitalWrite (B, HIGH);
    delay (200);
    digitalWrite (B, LOW);
    Serial.print (distance);
    Serial.println (“cm”);
    delay (100);
    distance = duration * 0.034/2;
}
```
 .
.
Step 10: Save your code. See the Getting Started section
Step 11: Select the arduino board and port See the Getting Started section:Selecting Arduino Board Type and Uploading your code.
Step 12: Upload your code. See the Getting Started section:Selecting Arduino Board Type and Uploading your code
## OBSERVATION The Serial Monitor displays distance values continuously. When an object comes closer than 20 centimetres, the buzzer produces a sound alert.
CONCLUSION
This project helps learners understand how to combine sensors and output devices using Arduino. It introduces distance measurement, object detection, and alarm systems in electronics and programming.