Project 1.2.2: Buzzer Control With Arduino(On and OFF)
| Description | This project shows how to control a buzzer using an Arduino Uno. The buzzer can be turned on and off using simple Arduino code. |
|---|---|
| Use case | This project can be used in alarm systems, notification systems, and devices that need sound alerts. |
Components (Things You will need)
 |
 |
 |
 |
 |
|---|---|---|---|---|
Building the circuit
Things Needed:
- Arduino Uno = 1
- Arduino USB cable = 1
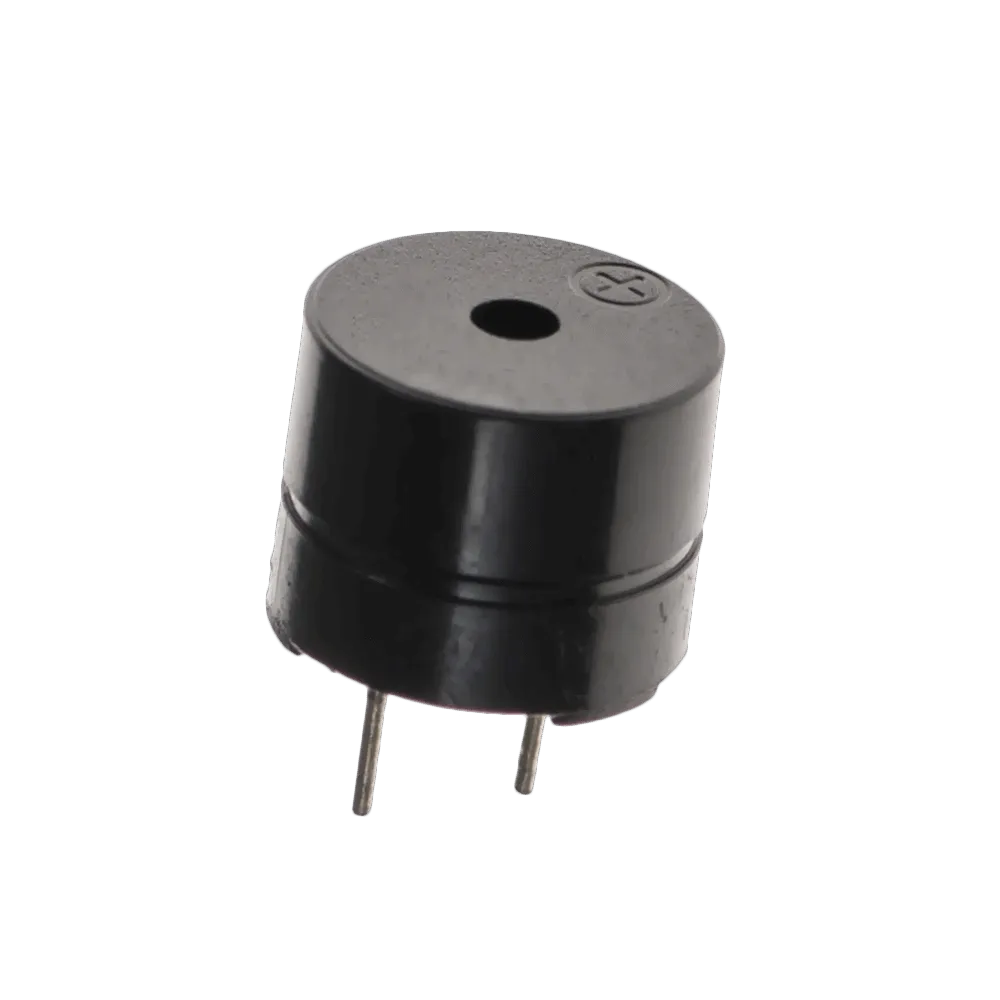
- Buzzer = 1
- Jumper Wires = 2
- Breadboard = 1
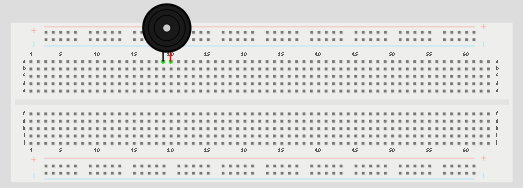
Mounting the component on the breadboard
Step 1: Place the buzzer on the breadboard. The longer pin is the positive pin, while the shorter pin is the negative pin.
 .
.
NB: Make sure you identify where the positive pin (+) and the negative pin (-) is connected to on the breadboard. The longer pin of the Buzzer is the positive pin and the shorter one, the negative PIN.
WIRING THE CIRCUIT
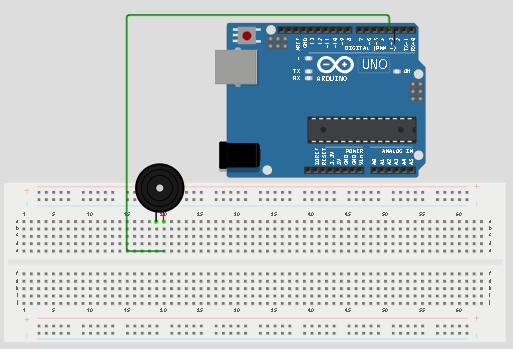
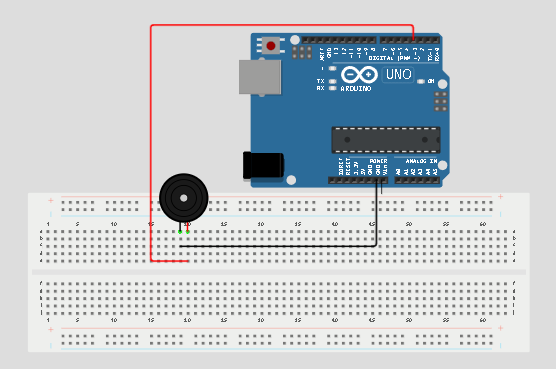
Step 2: Connect the positive pin of the buzzer to pin 3 on the Arduino Uno using a jumper wire.
 .
.
Step 3: Connect the negative pin of the buzzer to GND on the Arduino Uno.
 .
.
make sure you connect the arduino usb blue cable to the Arduino board.
PROGRAMMING
Step 1: Open your Arduino IDE. See how to set up here: Getting Started.
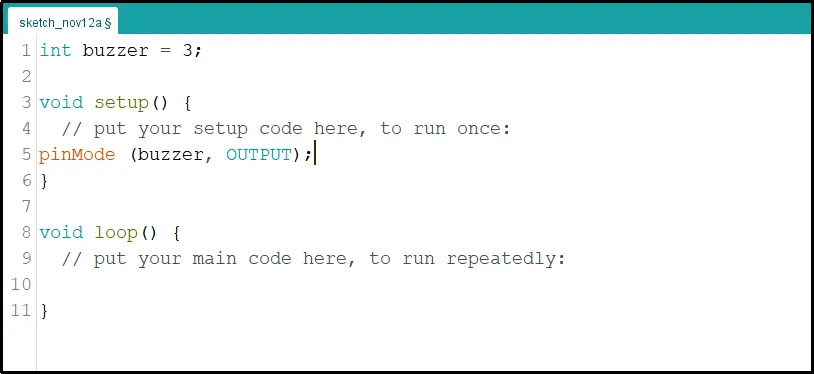
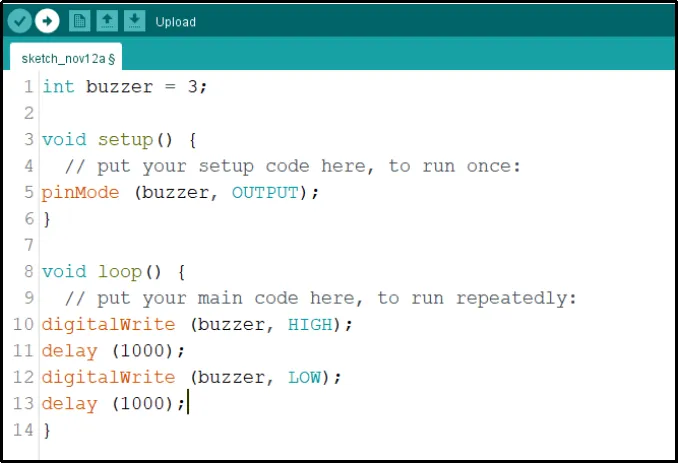
Step 2: Type int buzzer = 3; before the void setup function.
 .
.
Step 3: Type the following codes in the void setup function as shown below;
pinMode (buzzer, OUTPUT);
 .
.
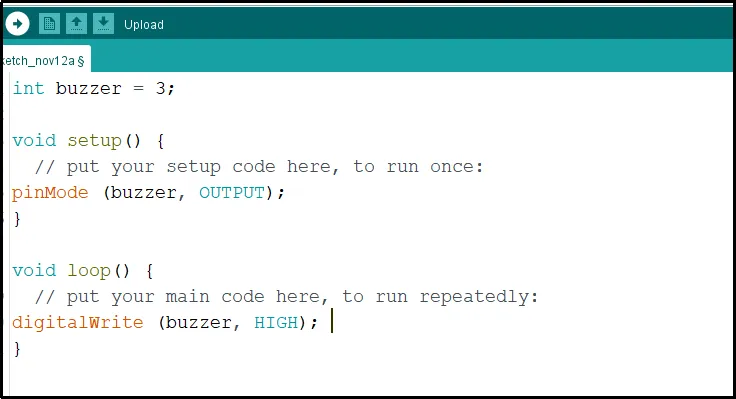
Step 4: Type the following codes in the void loop function as shown below;
digitalWrite (buzzer, HIGH);
 .
.
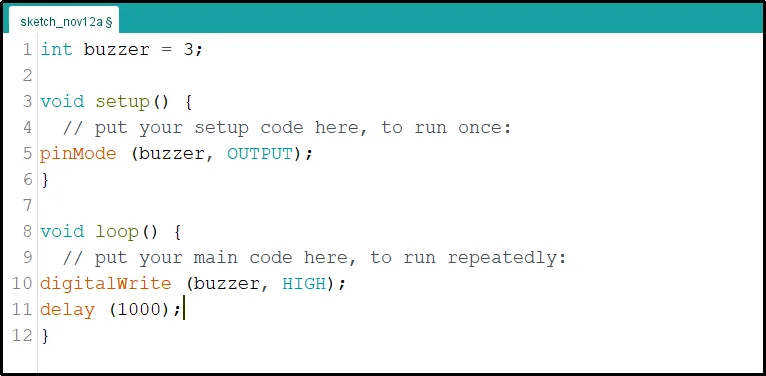
Step 5: Now, let's add a delay by typing the following code.;
delay(1000);
 .
.
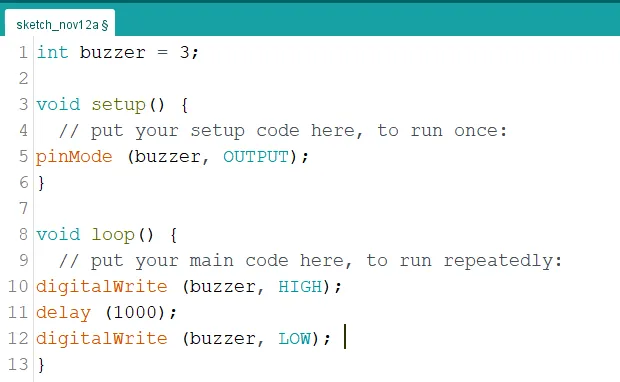
Step 6:Continue by typing the code shown below exactly as displayed in the image.
digitalWrite (buzzer, LOW);
 .
.
Step 7: Finally, let's complete it by typing the following delay code as shown below.
delay(1000);
 .
.
Step 5: Save your code. See the Getting Started section
Step 6: Select the arduino board and port See the Getting Started section:Selecting Arduino Board Type and Uploading your code.
Step 7: Upload your code. See the Getting Started section:Selecting Arduino Board Type and Uploading your code
OBSERVATION
The buzzer turns on and off repeatedly, producing a beep sound every second.
CONCLUSION
This project helps learners understand how to control a buzzer using Arduino. It introduces simple sound control, timing, and repeated actions in electronics projects.