Getting Started
Here's a quick overview of what you can expect from our guides:
Basic C++ Concepts for Arduino
Arduino is programmed using a language based on C++. Here are a few essential concepts you will use in almost every project:
Variables
A variable is like a labeled container that stores information for your program to use or change. When you create a variable, you must tell the Arduino what kind of data it will hold (its Data Type).
Common data types include:
- int (Integer): Stores whole numbers. Example: int ledPin = 13;
- float: Stores numbers with decimals. Example: float temperature = 25.5;
- String: Stores text. Example: String message = "Hello!";
- bool (Boolean): Stores true or false. Example: bool isLightOn = true;
Example: By writing int ledPin = 13; at the very top of your code, you create a variable named ledPin and store the number 13 inside it. Now, instead of remembering the number 13, you can just use ledPin!
The Two Main Functions: setup() and loop()
Every Arduino program relies on two main blocks of code:
- void setup(): This block runs only once when you power on or reset the Arduino. We use it for initial configurations, such as setting a pin as an OUTPUT or INPUT.
- void loop(): After the setup finishes, the loop() block runs over and over again forever. This is where the main instructions for your project live (like turning an LED on and off).
The Arduino IDE and Basic Set Up
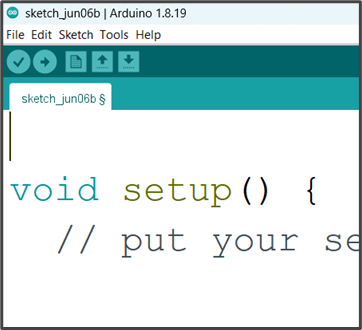
Step 1: Double click on the Arduino IDE icon on your computer / laptop to open Arduino IDE.
 .
.
Step 2: Find the three buttons in the top right corner of the window.
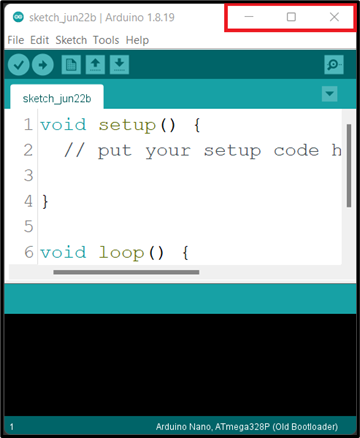
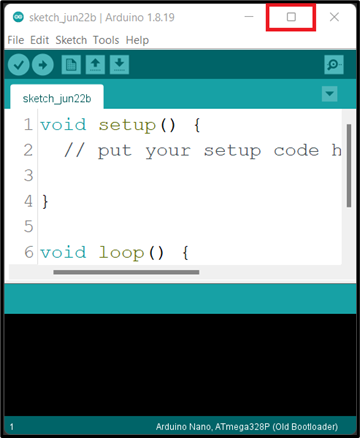
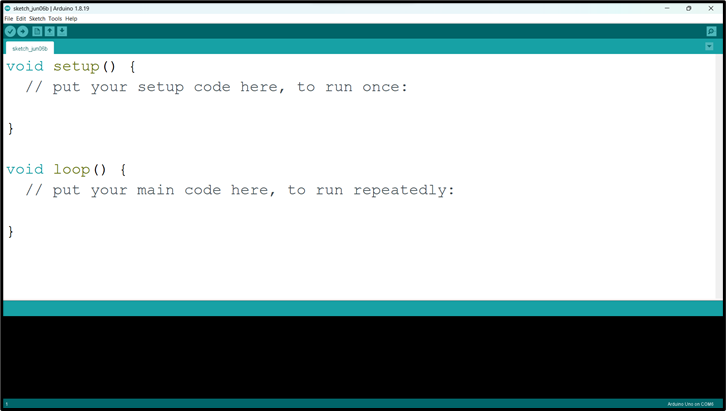
Step 3: Click the middle button "Maximize" in the top right corner of the window to maximize its size.
 .
.
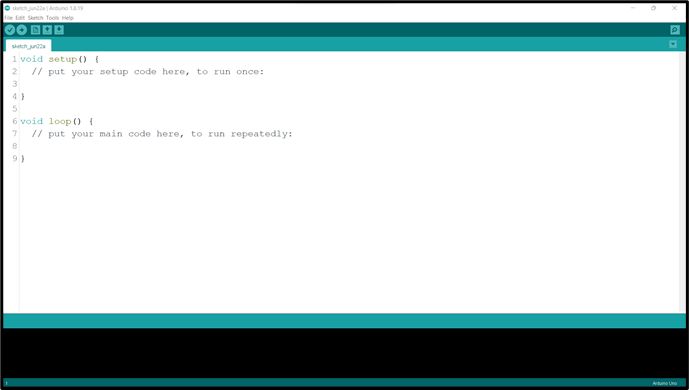
At the point you should see the code below on your computer / laptop.
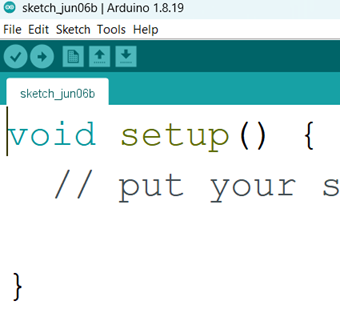
Step 4: Left Click before the ( void setup () ) and click on the Enter key on your keyboard to get space at the top of the void setup(). Then click above the void setup().
 |
 |
|---|---|
NB: we will write the necessary code and comment at the space we created above the void setup ().
Comment
In programming, a comment is a piece of text that is added to the source code of a program to provide information or explanations. Comments are intended for human readers and are ignored by the compiler or interpreter when the program is executed.
 .
.
NB: before you type a comment, type two slash (//) before you complete your sentence.
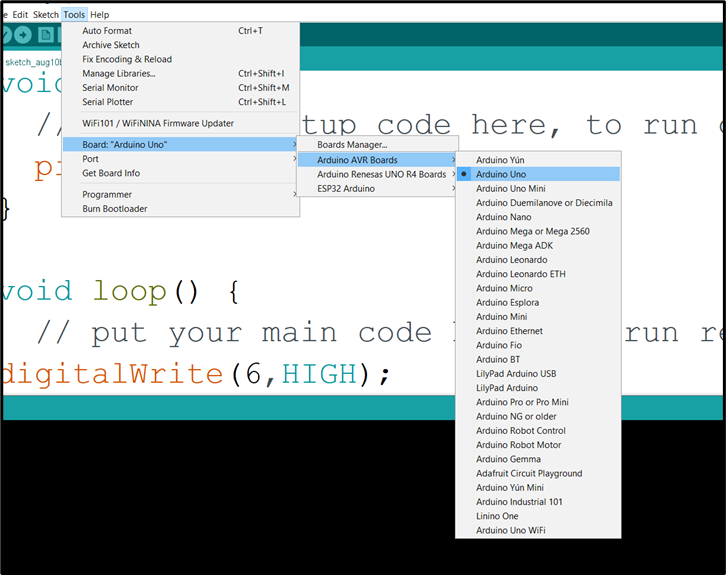
Step 1: Select the Board type. Click on tools on the menu bar hover your mouse on Board, a new window will appear. Look through and click on Arduino UNO.
 .
.
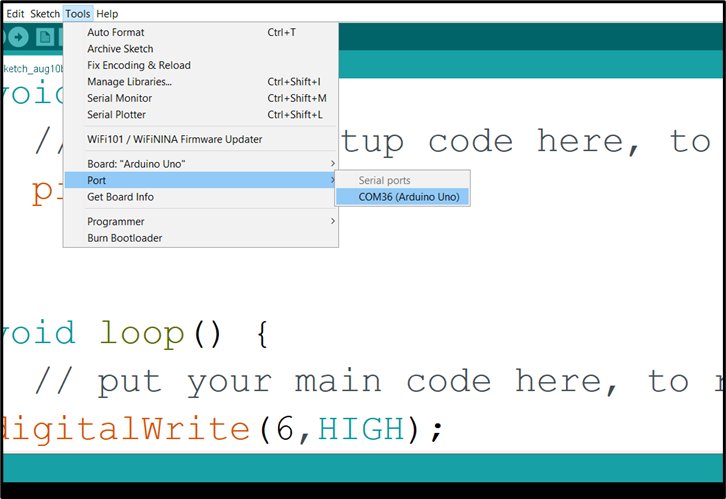
Step 2: Select the Port.
Click on tools on the menu bar and hover your mouse on Port, a new window will appear. Look through and click on COM which has Arduino Uno attached to it.
 .
.
NB: Your COM number may be different. In this example we have COM36 (Arduino Uno)
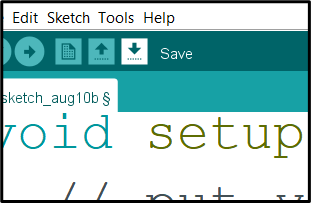
Step 3: Click Control S (CTRL S) on your keyboard or click Save on the Arduino task bar.
 .
.
A new window will pop up, type the project name and click save.
 .
.
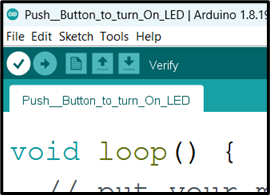
Step 4: Click Verify.
 .
.
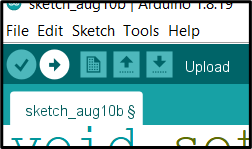
Step 5: Click Upload.
 .
.
NB: Make sure there is no error in your code and the Arduino USB cable is connected to your laptop / desktop before you click Upload.
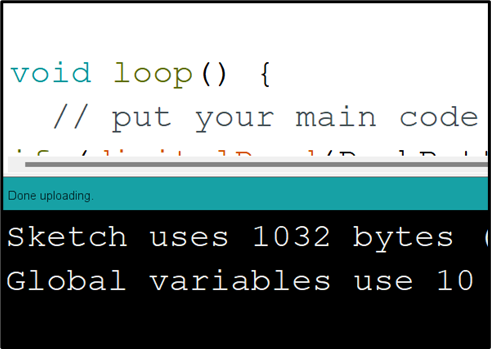
WAIT Done uploading
 .
.