Project 1.2.1: Buzzer Control With Arduino(On and OFF)
| Description | This project shows how to turn on a buzzer using an Arduino Uno. The buzzer stays on continuously when power is supplied from the Arduino. |
|---|---|
| Use case | This project can be used in alarm systems and sound notification devices where continuous sound is needed. |
Components (Things You will need)
 |
 |
 |
 |
 |
|---|---|---|---|---|
Building the circuit
Things Needed:
- Arduino Uno = 1
- Arduino USB cable = 1
- Buzzer = 1
- Red jumper wires = 1
- Blue jumper wires = 1
Mounting the component on the breadboard
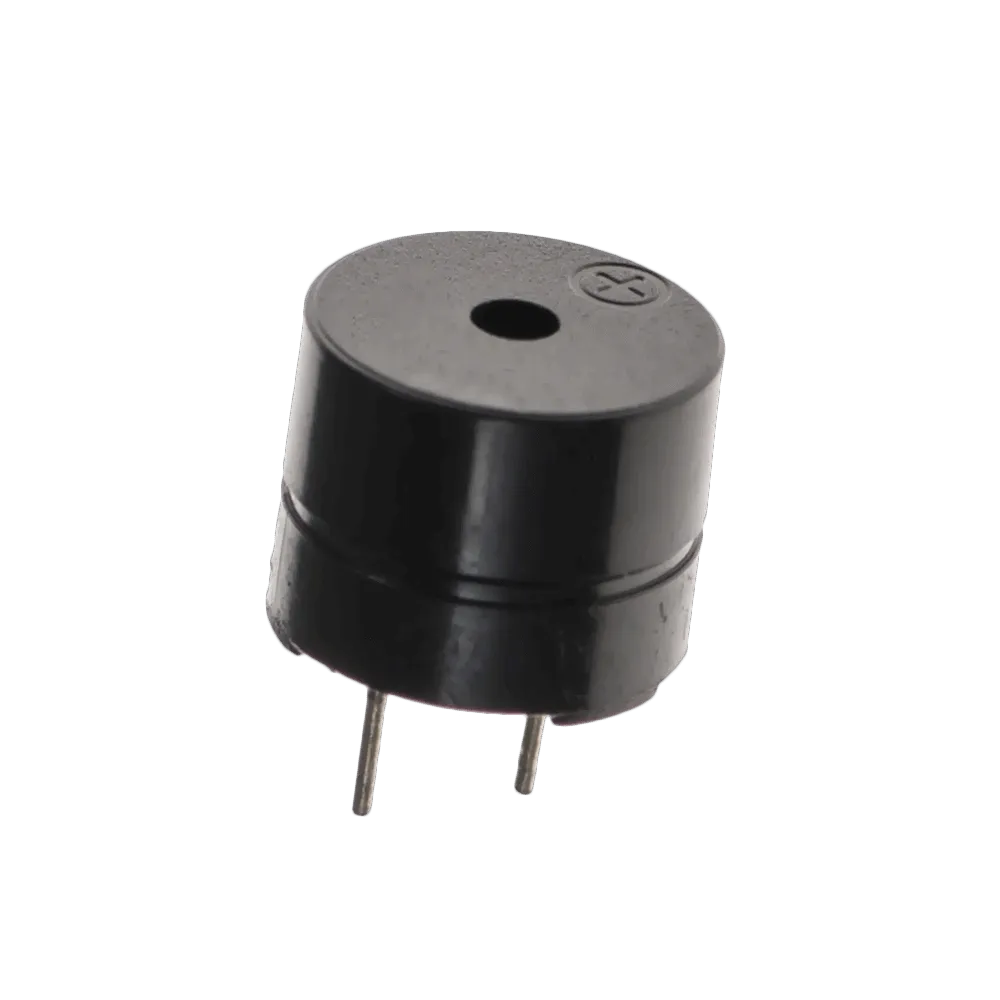
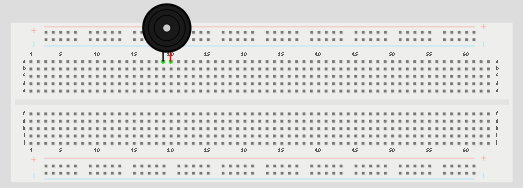
Step 1: Place the buzzer on the breadboard. The longer pin is the positive pin, while the shorter pin is the negative pin.
 .
.
NB: Make sure you identify where the positive pin (+) and the negative pin (-) is connected to on the breadboard. The longer pin of the Buzzer is the positive pin and the shorter one, the negative PIN.
WIRING THE CIRCUIT
Things Needed:
- Red male-to-male jumper wires = 1
- Green male-to-male jumper wires = 1
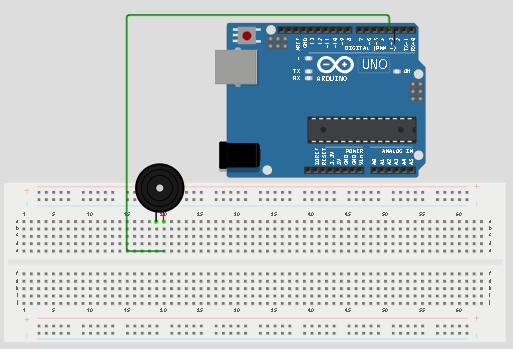
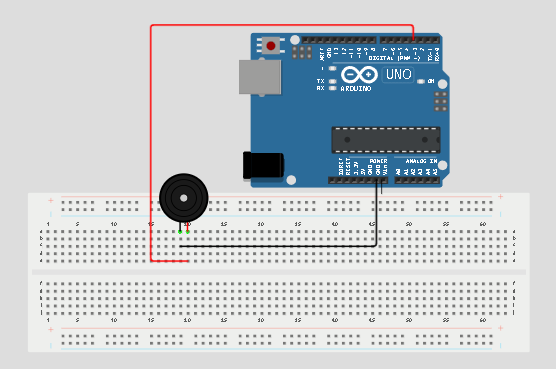
Step 2: Connect the positive pin of the buzzer to pin 3 on the Arduino Uno using a jumper wire.
 .
.
Step 3: Connect the negative pin of the buzzer to GND on the Arduino Uno.
 .
.
make sure you connect the arduino usb blue cable to the Arduino board.
just as shown above, connect your USB cable to the Arduino board and to your laptop.
PROGRAMMING
Step 1: Open your Arduino IDE. See how to set up here: Getting Started.
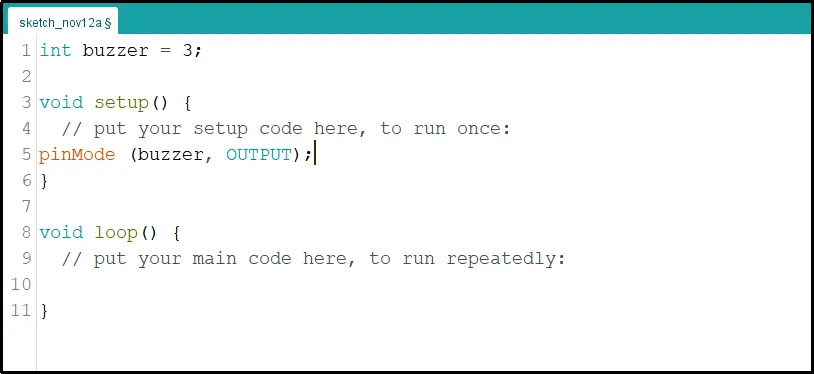
Step 2: Type int buzzer = 3; before the void setup function.
 .
.
Step 3: Type the following codes in the void setup function as shown below;
pinMode (buzzer, OUTPUT);
 .
.
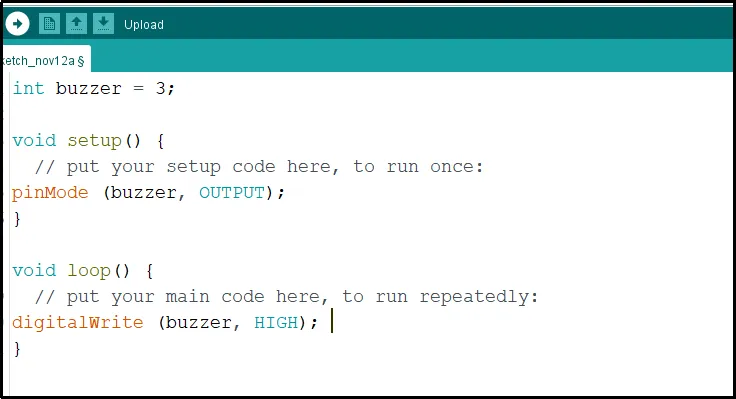
Step 4: Type the following codes in the void loop function as shown below;
digitalWrite (buzzer, HIGH);
 .
.
NB: To turn off the buzzer, replace HIGH with LOW in the code. This change will stop sending a signal to the buzzer, turning it off.
Step 5: Save your code. See the Getting Started section
Step 6: Select the arduino board and port See the Getting Started section:Selecting Arduino Board Type and Uploading your code.
Step 7: Upload your code. See the Getting Started section:Selecting Arduino Board Type and Uploading your code
OBSERVATION
The buzzer stays on continuously and produces a constant beep sound.
CONCLUSION
This project helps learners understand how to control a buzzer using Arduino. It introduces simple sound control and the use of output devices in electronic circuits.