Project 1.3.2: TWIN LIGHT
| Description | This project shows how to control two LEDs using a push button with an Arduino Uno. When the button is pressed, both LEDs turn on at the same time. When the button is released, both LEDs turn off. |
|---|---|
| Use case | This project can be used as a simple signal system where two lights work together to show notifications or indicate someone's presence. |
Components (Things You will need)
 |
 |
 |
 |
 |
 |
|---|---|---|---|---|---|
Building the circuit
Things Needed:
- Arduino Uno = 1
- Arduino USB cable = 1
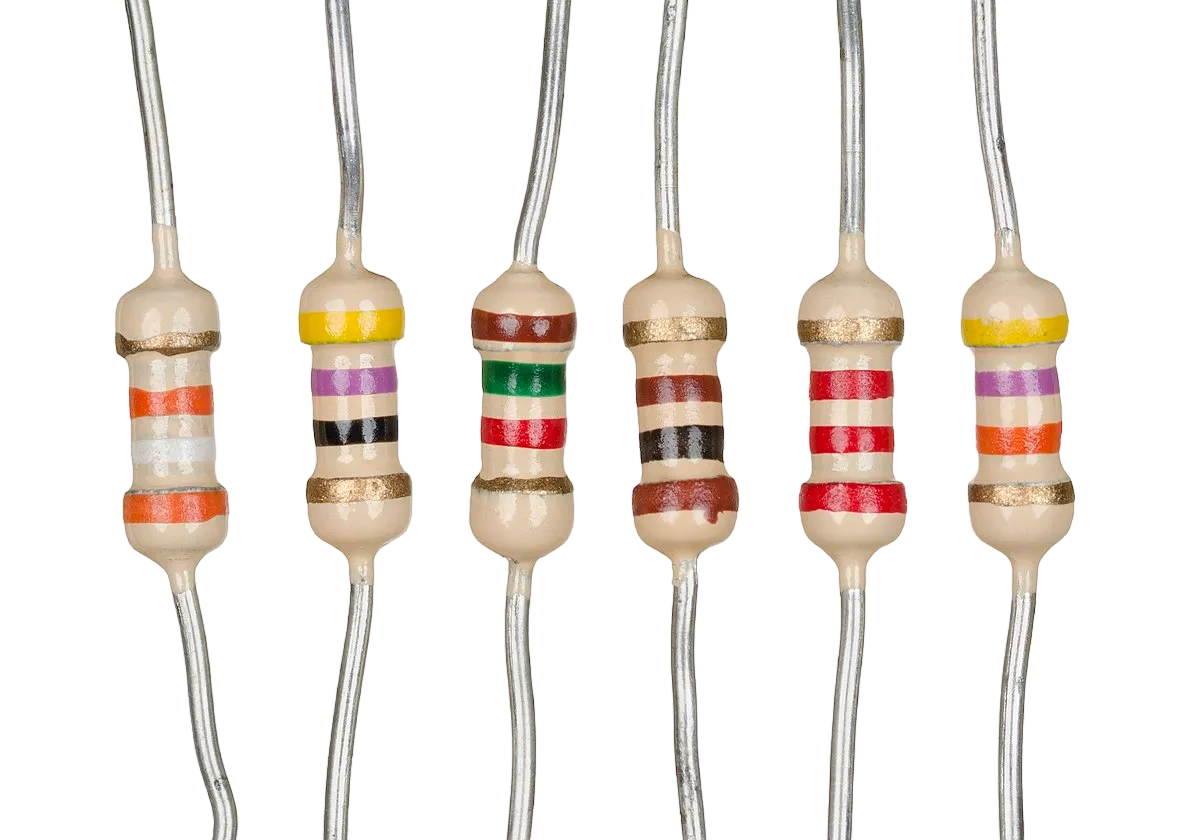
- Resistor = 1
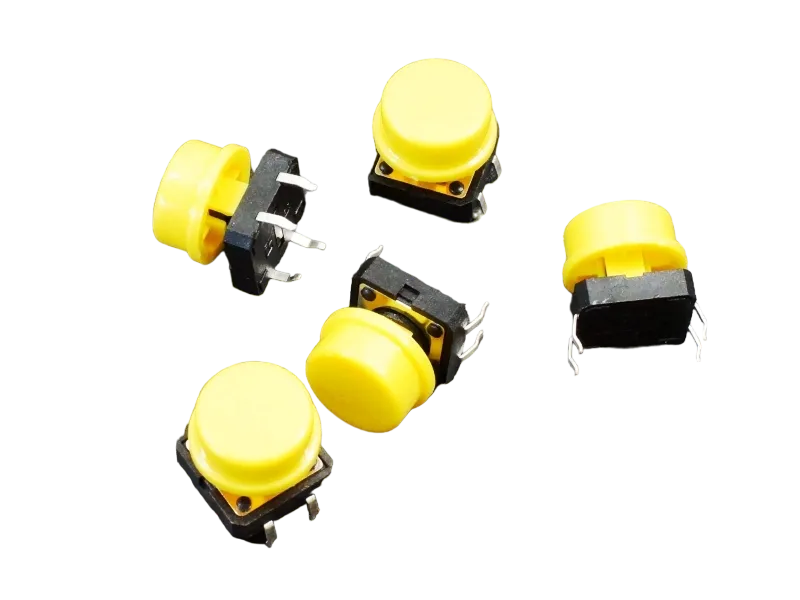
- Push button = 1
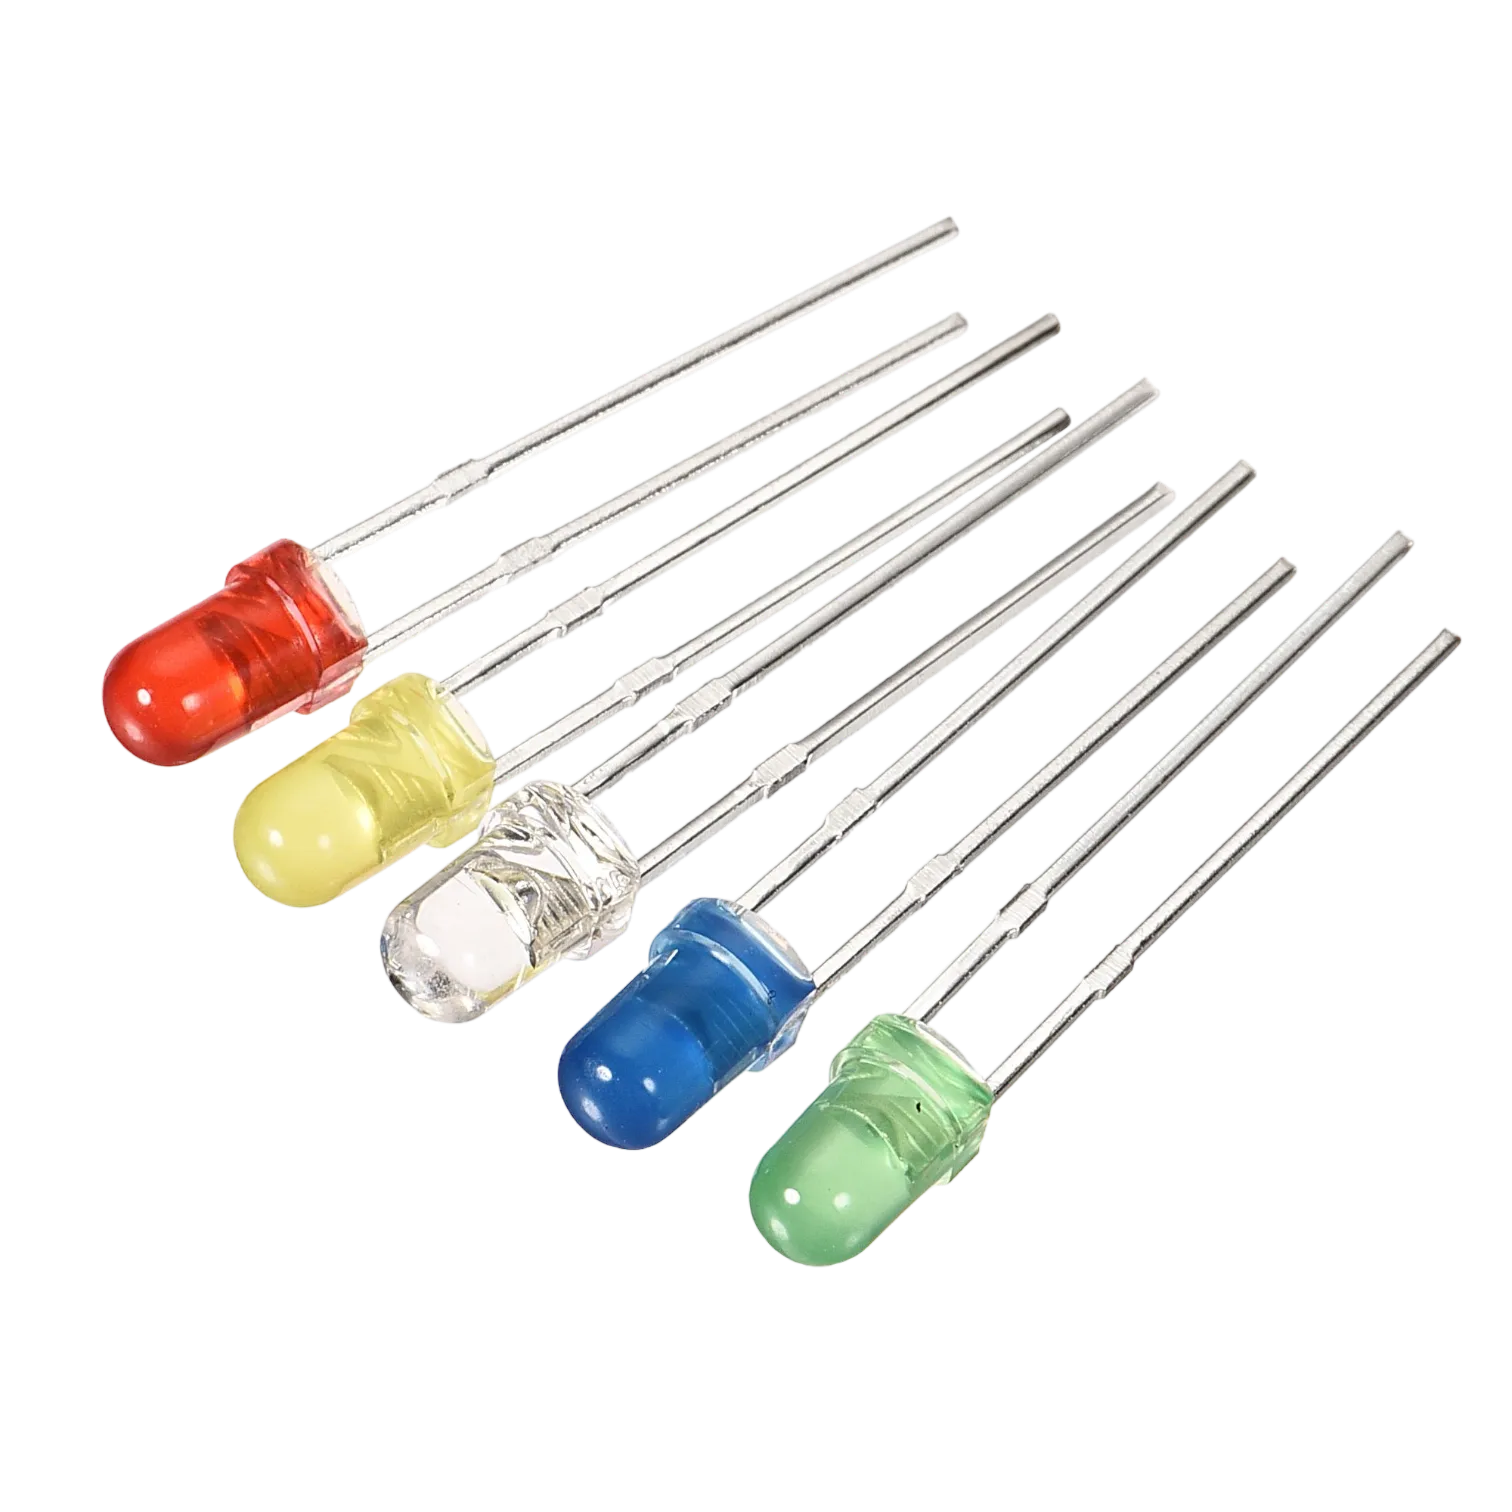
- LED = 2
- Jumper wire = 6
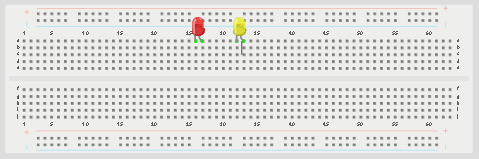
Mounting the component on the breadboard
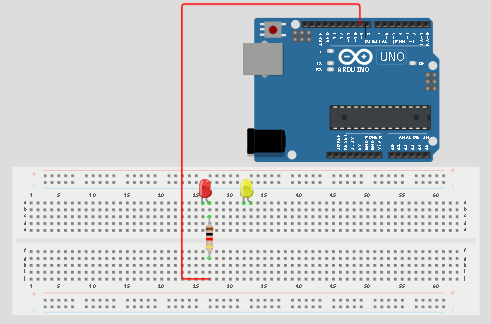
Step 1: Place the two LEDs on the breadboard. The longer legs are the positive pins, while the shorter legs are the negative pins.
 .
.
Step 2: Connect the positive leg of the first LED to pin 9 on the Arduino through a 220Ω resistor.
 .
.
WIRING THE CIRCUIT
Things Needed:
- Red male-male-to-male jumper wires = 1
- Black male-to-male jumper wires = 1
- Yellow male-to-male jumper wires = 1
- Blue male-to-male jumper wires = 1
- White male-to-male jumper wires = 1
- Green male-to-male jumper wires = 1
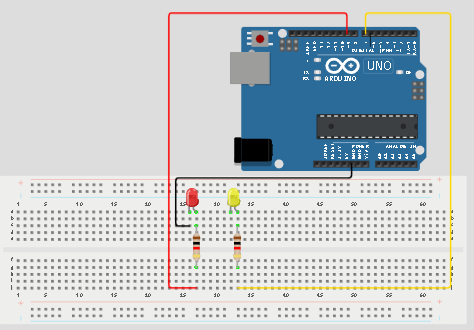
Step 3: Connect the negative leg of the first LED to GND on the Arduino Uno. Connect the positive leg of the second LED to pin 9 on the Arduino through a 220Ω resistor.

Step 4: Connect the negative leg of the second LED to GND on the Arduino Uno. Connect the positive leg of the second LED to pin 7 on the Arduino through a 220Ω resistor.
Step 5: Place the push button on the breadboard.
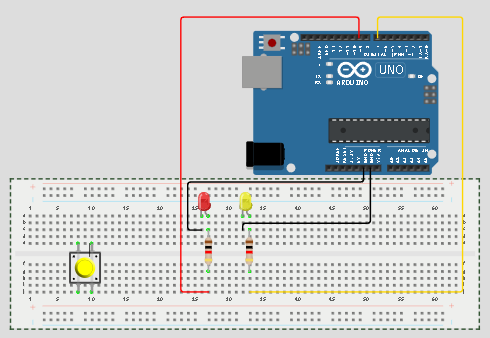
Step 6: Connect one side of the push button to GND on the Arduino Uno.

Step 8: Connect the other side of the push button to pin 13 on the Arduino Uno.
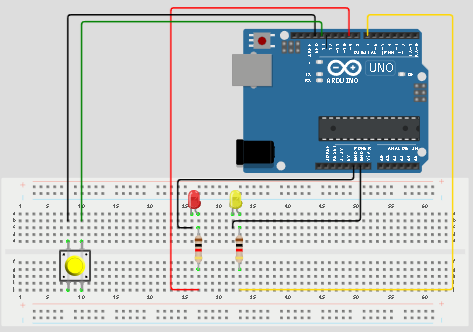
Make sure to connect the Arduino USB blue cable to the Arduino board.
PROGRAMMING
Step 1: Open your Arduino IDE. See how to set up here: Getting Started.
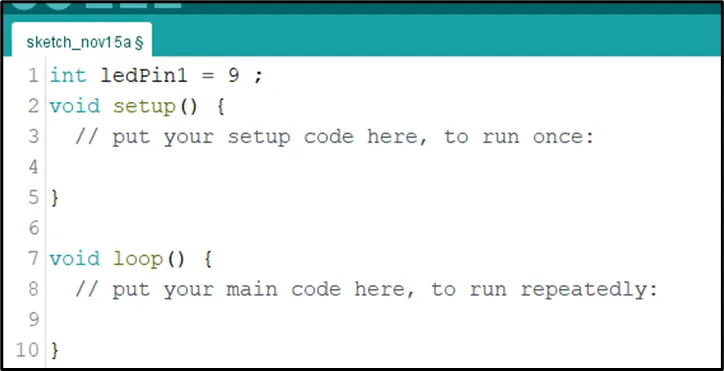
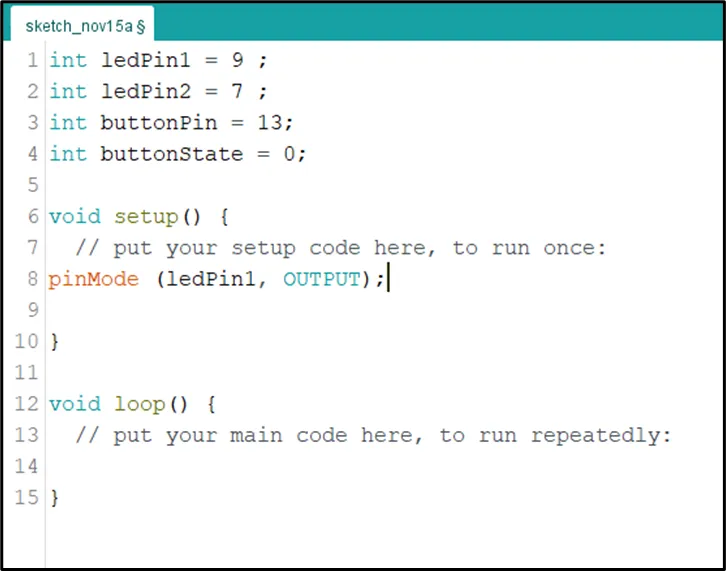
Step 2: Type int ledPin1 = 9; as shown in the picture below.
 .
.
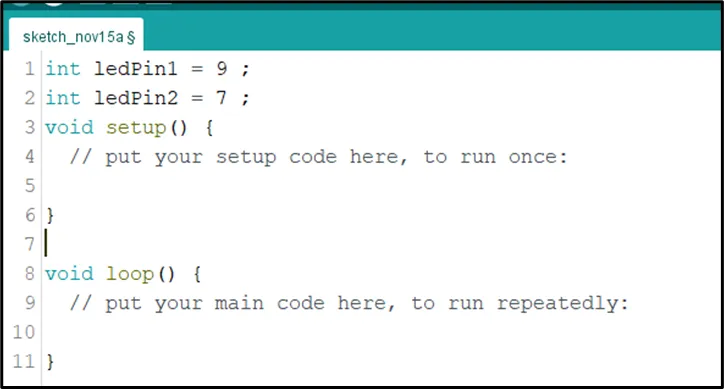
Step 3: Type const int LedPin2 = 7; as shown in the picture below.
 .
.
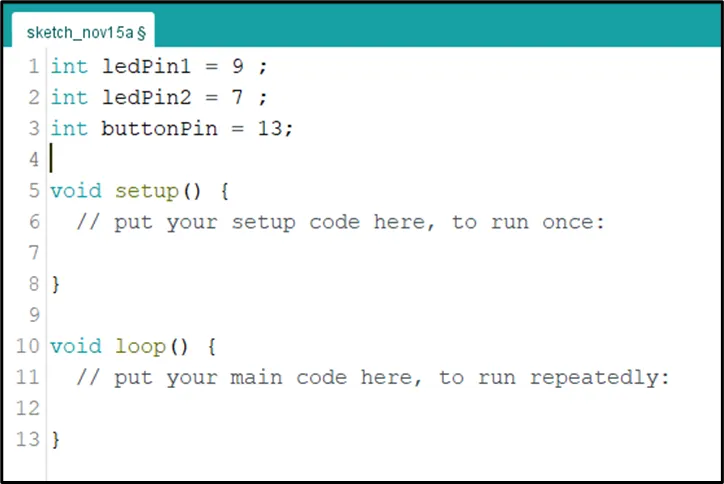
Step 4: Type int buttonPin = 13; as shown in the picture below.
 .
.
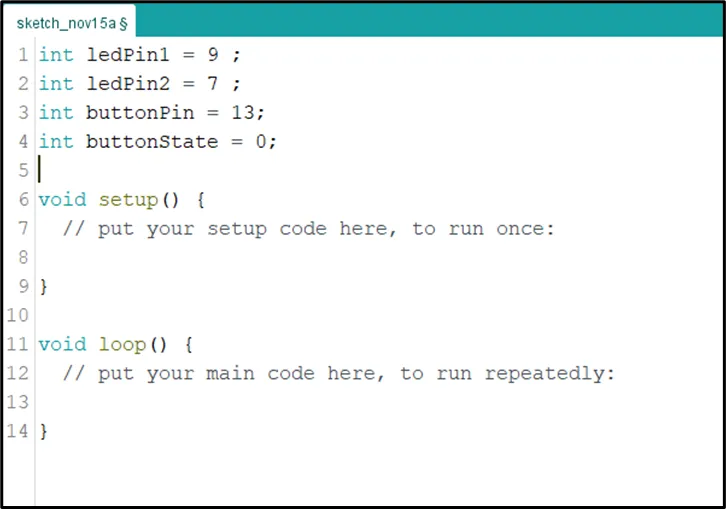
Step 5: Type int buttonState = 0; as shown in the picture below.
 .
.
Step 6: Inside the (void setup()) function, type pinMode (ledPin1, OUTPUT); as shown in the picture below.
 .
.
NB: pinMode will help the Arduino board to decide which port should be activated.
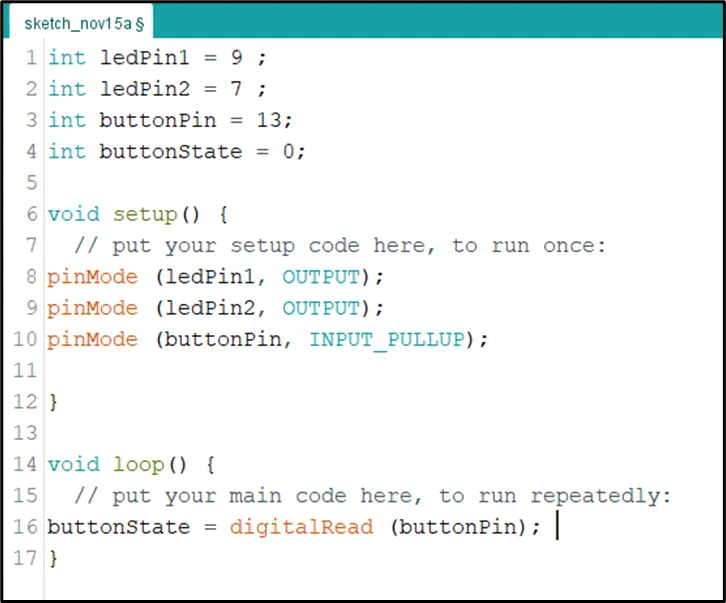
Step 7: Inside the (void setup()) Type pinMode (ledPin2, OUTPUT); as shown in the picture below.
 .
.
Step 8: Type pinMode (buttonPin, INPUT_PULLUP); as shown in the picture below.
 .
.
Step 9: Scroll down and click inside the void loop() function and Type buttonState = digitalRead (buttonPin); as shown in the picture below.
 .
.
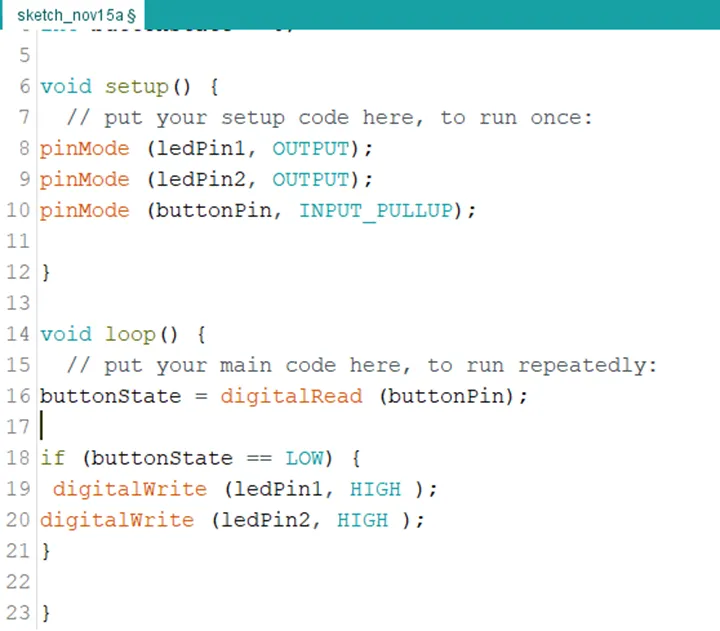
Step 10: Type this conditional statement if (buttonState == LOW) { digitalWrite (LedPin1, HIGH); digitalWrite (ledPin2, HIGH); } as shown in the picture below.
 .
.
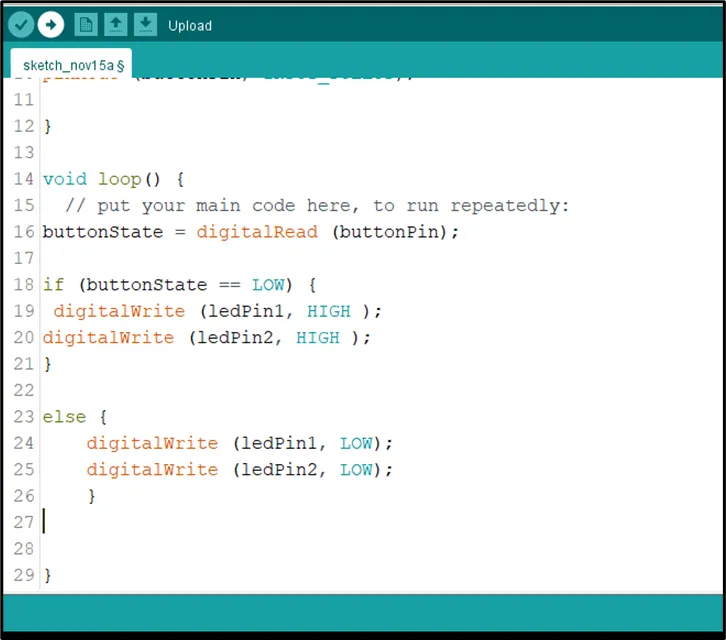
Step 11: Type else { digitalWrite (LedPin1, LOW); digitalWrite (ledPin2, LOW); } as shown in the picture below.
 .
.
CONCLUSION
This project helps learners understand how to control multiple LEDs using a push button with Arduino. It introduces input devices, output devices, and simple control logic in programming.