Project 1.3.1: BUTTON LIT
| Description | This project shows how to control an LED using a push button with an Arduino Uno. When the button is pressed, the LED turns on, and when the button is released, the LED turns off. |
|---|---|
| Use case | This project can be used as a simple bedside light switch or a control system where a button is used to turn a light on and off. |
Components (Things You will need)
 |
 |
 |
 |
 |
 |
|---|---|---|---|---|---|
Building the circuit
Things Needed:
- Arduino Uno = 1
- Arduino USB cable = 1
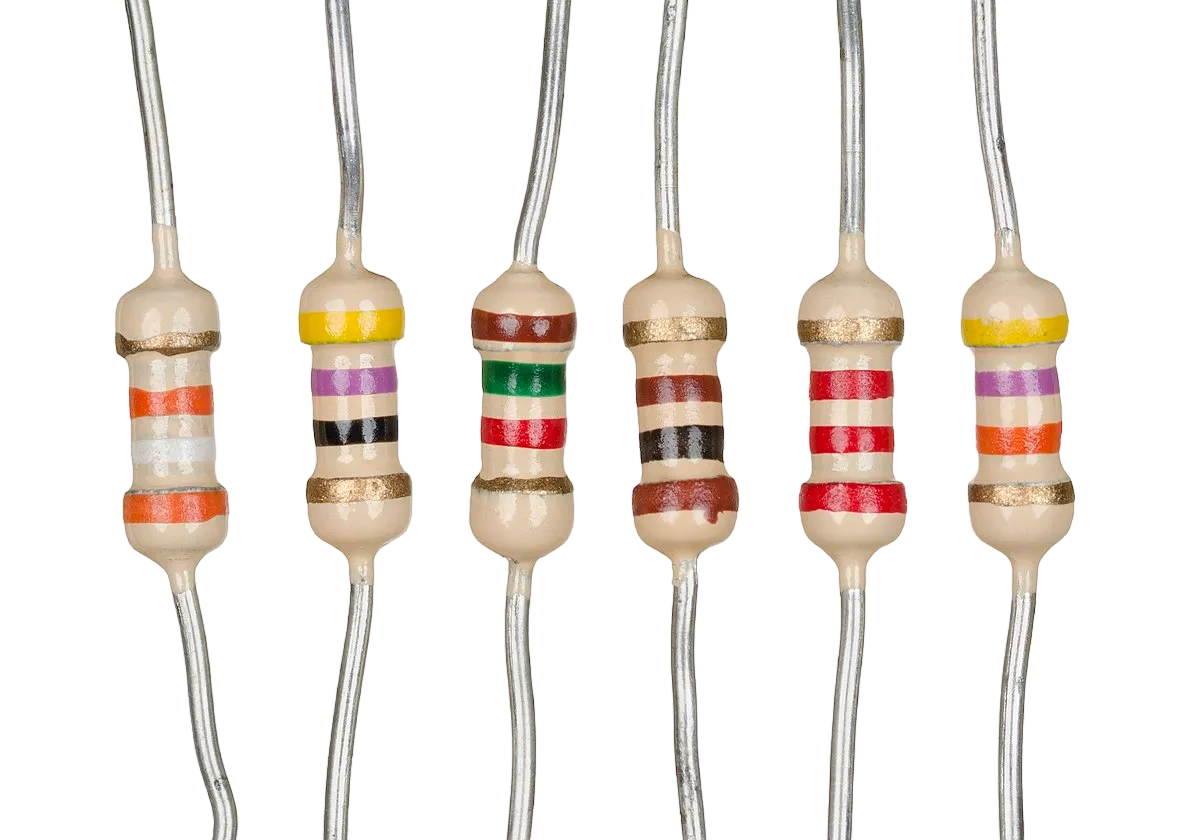
- Resistor = 1
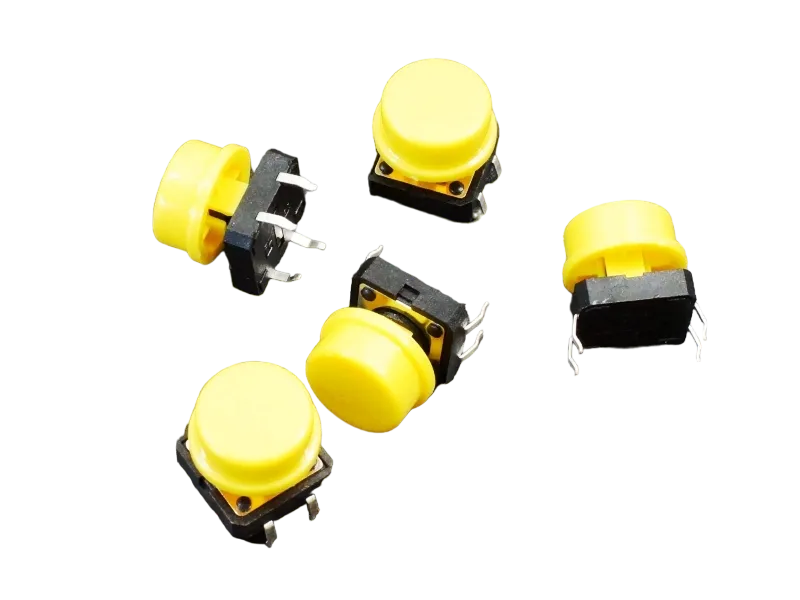
- Push button = 1
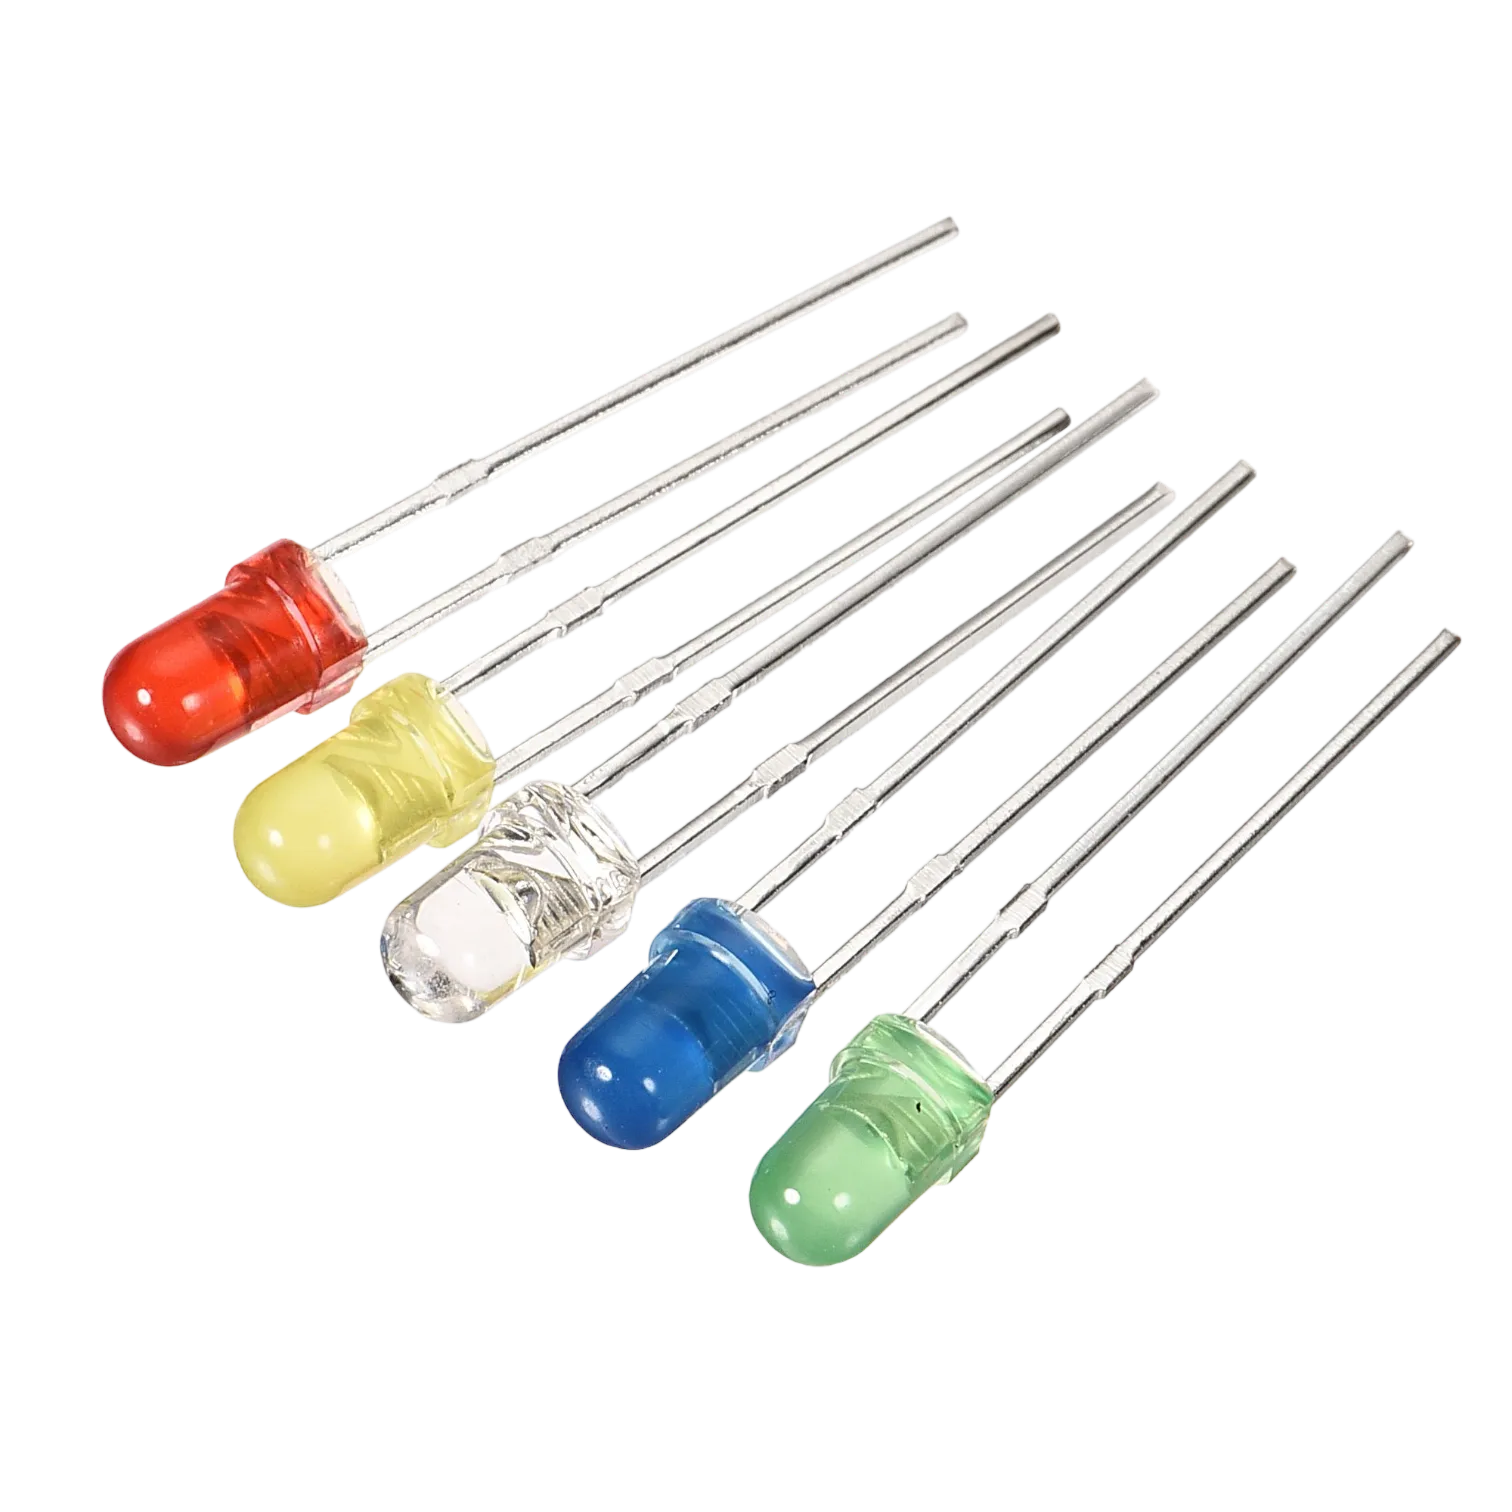
- Red LED = 1
- Jumper Wires = 4
- Breadboard = 1
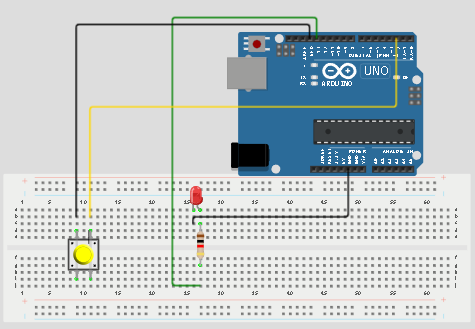
Mounting the component on the breadboard
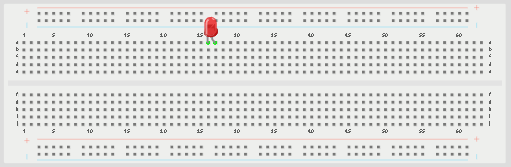
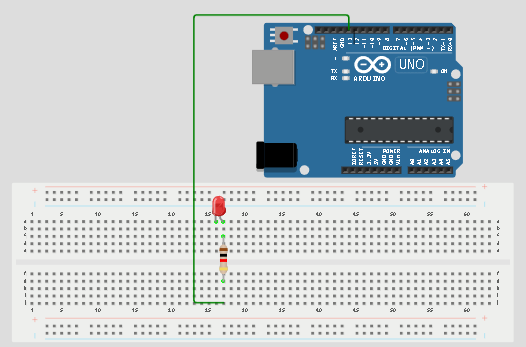
Step 1: Place the LED on the breadboard. The longer leg is the positive pin, while the shorter leg is the negative pin.
 .
.
NB: Make sure you identify where the positive pin (+) and the negative pin (-) is connected to on the breadboard.
Step 2: Connect the positive leg of the LED to pin 13 on the Arduino through a 220Ω resistor.
 .
.
NB: Make sure you identify where the positive pin (+) and the negative pin (-) is connected to on the breadboard.
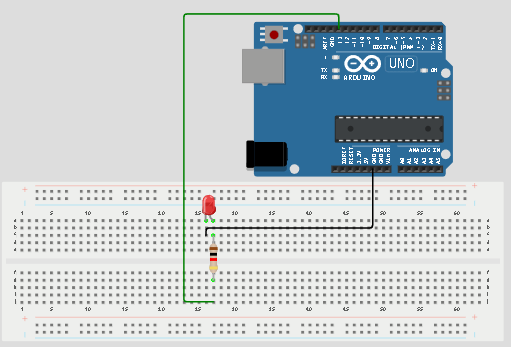
Step 3: Connect the negative leg of the LED to GND on the Arduino Uno.
 .
.
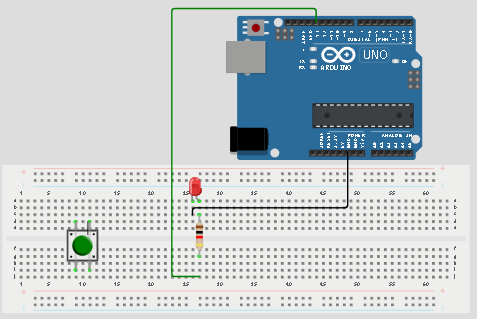
Step 4: Place the push button on the breadboard.
 .
.
Step 5: Connect one side of the push button to GND on the Arduino Uno.
 .
.
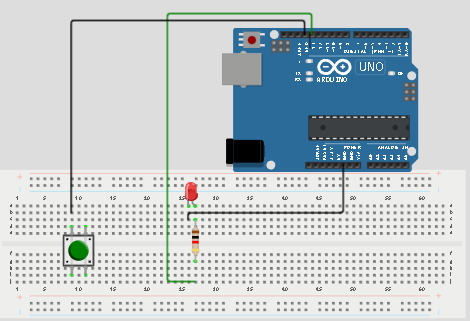
Step 6: Connect the other side of the push button to pin 2 on the Arduino Uno.
 .
.
NB: This completes the circuit for the LED, allowing current to flow from the digital pin, through the LED and back to ground.
Make sure to connect the Arduino USB blue cable to the Arduino board.
PROGRAMMING
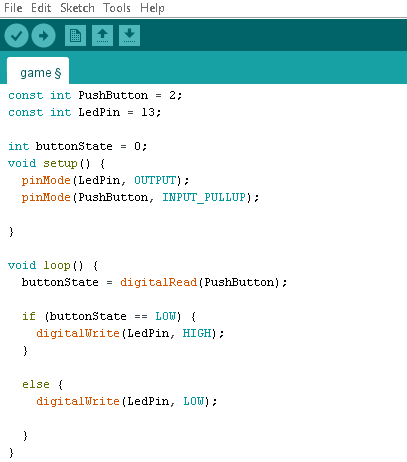
Step 1: Open your Arduino IDE. See how to set up here: Getting Started.
Step 2: Type const int PushButton = 2;
Step 3: Type const int LedPin = 13; .
Step 4: Type int buttonState = 0;
Step 5: Type pinMode (LedPin, OUTPUT);
Step 6: Type pinMode (PushButton, INPUT_PULLUP);
Step 7: Type buttonState = digitalRead(PushButton);
Step 8: Type if (buttonState == LOW);{}
Step 9: Type digitalWrite(LedPin, HIGH);
Step 10: Type else {digitalWrite (LedPin, LOW)} };
NB: Keep your eyes on the (curly bracket).
 .
.
## EXPLANATION const int PushButton = 2; stores the push button pin number. const int LedPin = 13; stores the LED pin number. int buttonState = 0; stores the current state of the push button. pinMode(LedPin, OUTPUT); sets the LED pin as an output pin. pinMode(PushButton, INPUT_PULLUP); sets the push button pin as an input pin. digitalRead(PushButton); reads the state of the push button. digitalWrite(LedPin, HIGH); turns the LED on. digitalWrite(LedPin, LOW); turns the LED off.
CONCLUSION
This project helps learners understand how to use a push button to control an LED with Arduino. It introduces input devices, output devices, and simple decision-making in programming.