Project 3.8.1: Proximity Parking Radar
| Description | Learn how to build a parking assistance system using an ultrasonic sensor, traffic light module, and buzzer. The system detects the distance of nearby objects and provides visual and audible warnings as the object gets closer. |
|---|---|
| Use case | This project can be used as a parking assistance system for vehicles, obstacle detection in robotics, warehouse safety systems, and distance warning applications. |
Components (Things You will need)
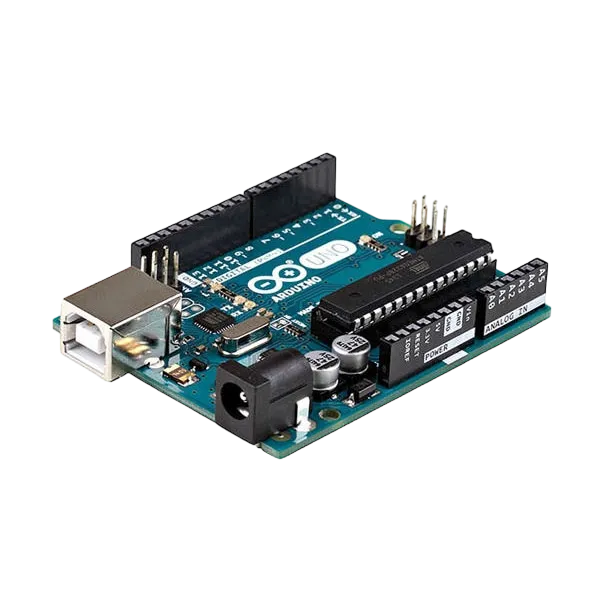 |
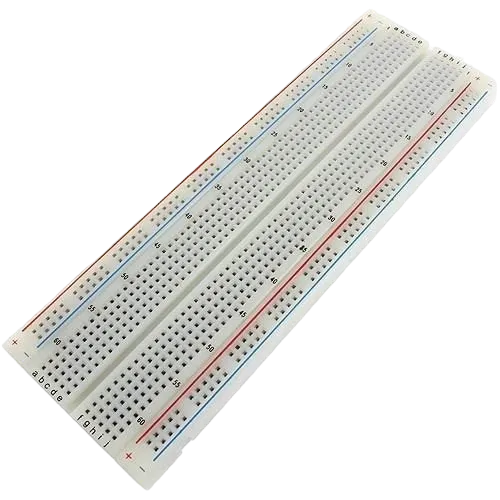 |
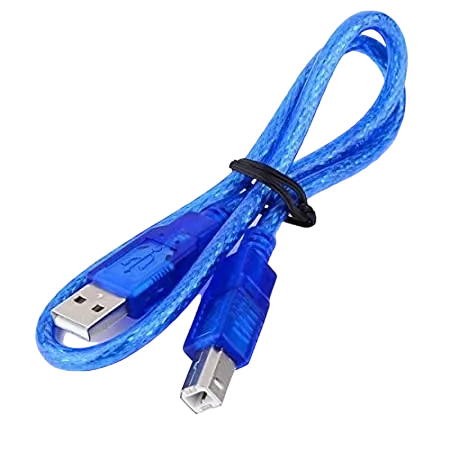 |
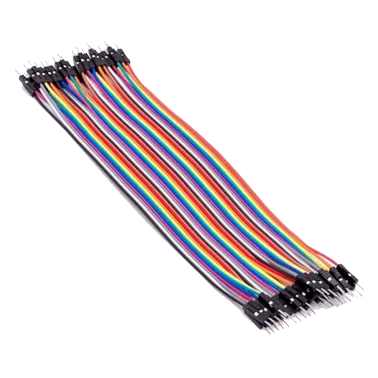 |
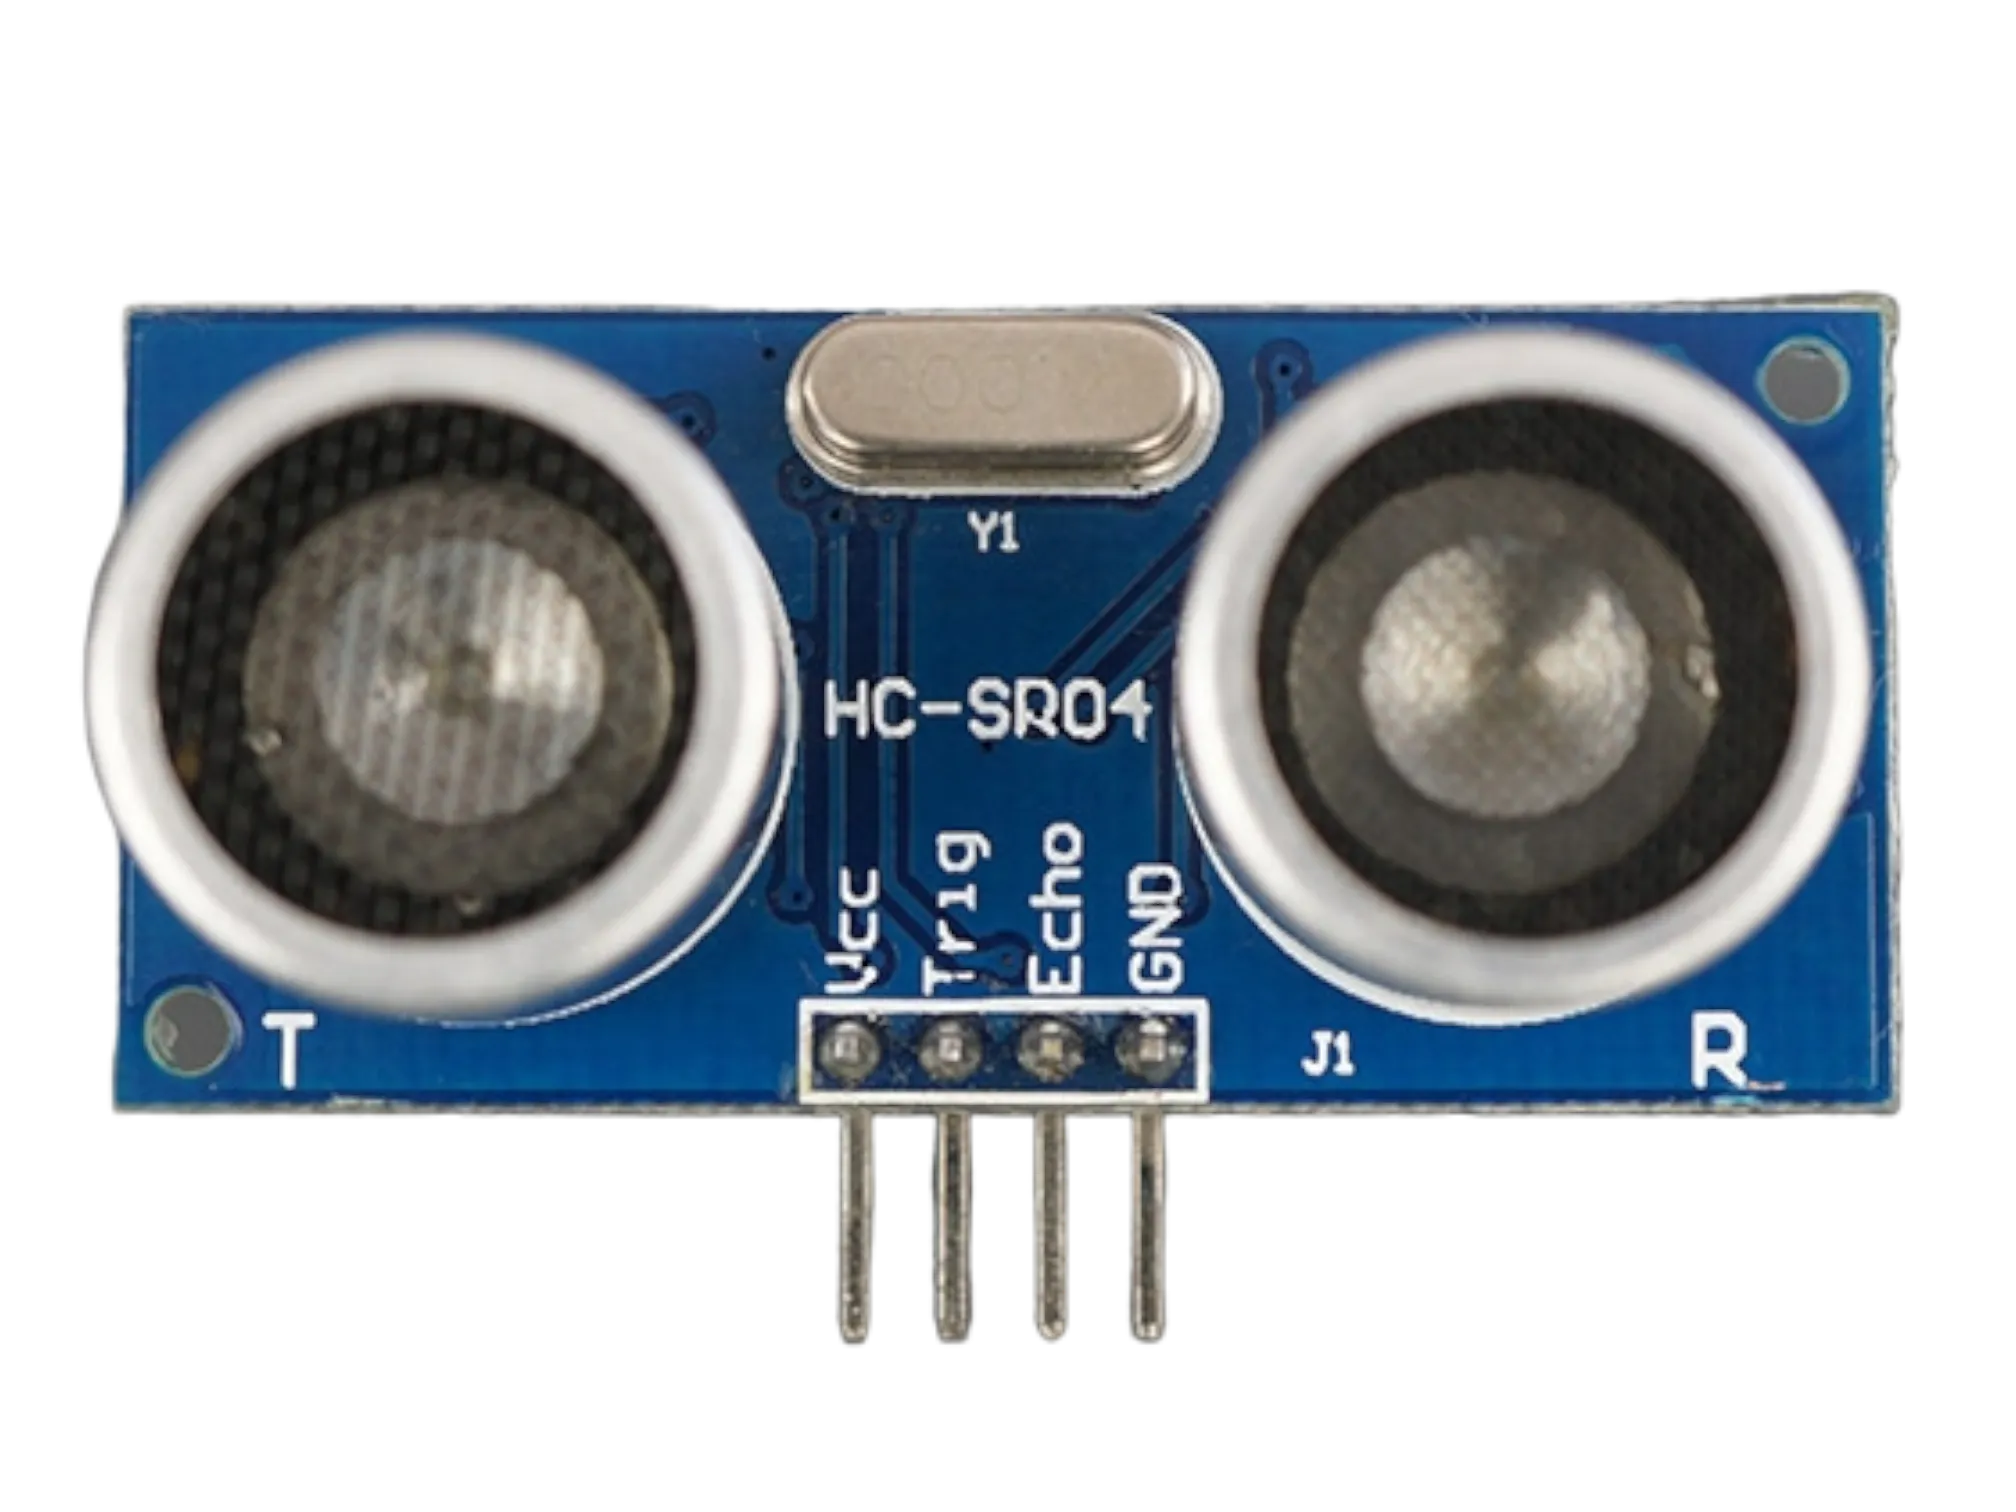 |
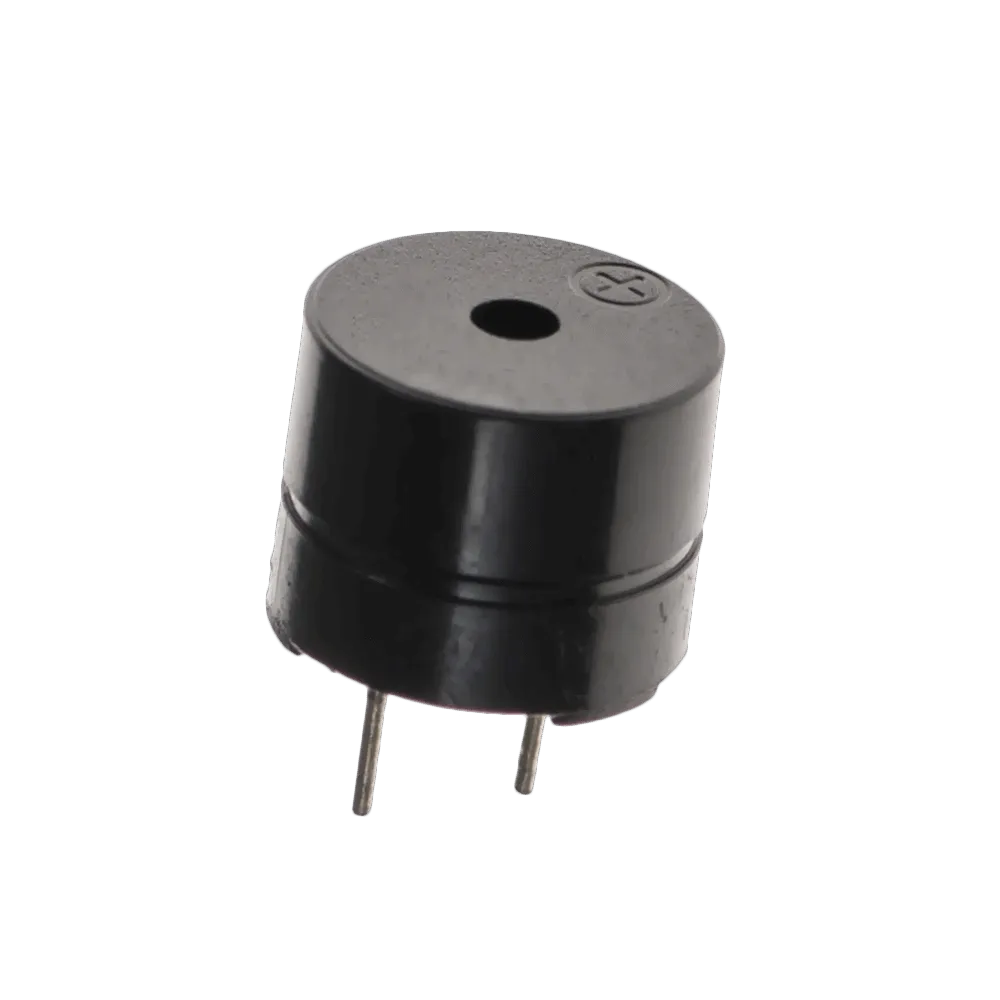 |
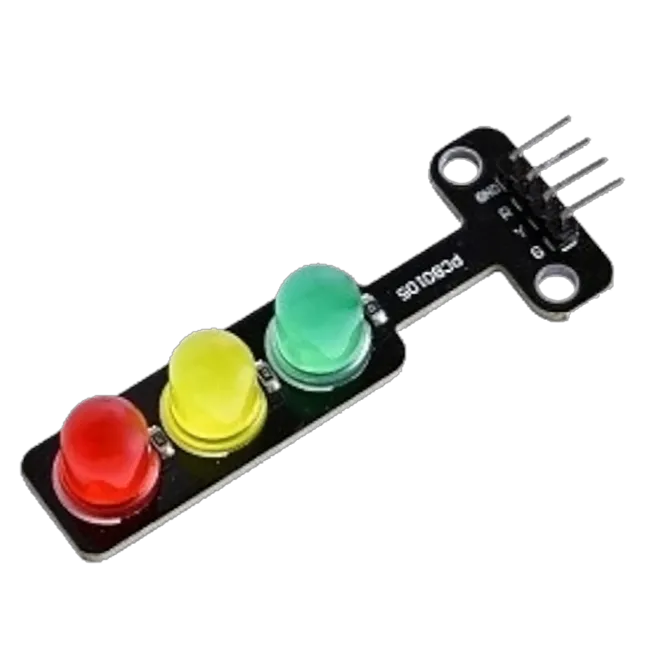 |
|---|---|---|---|---|---|---|
Building the circuit
Things Needed:
- Arduino Uno = 1
- Arduino USB cable = 1
- Ultrasonic sensor = 1
- Buzzer = 1
- Traffic light module = 1
- Jumper Wires
Mounting the component on the breadboard
Step 1: Carefully mount the Arduino Uno, Ultrasonic Sensor (HC-SR04), Traffic Light Module, and Buzzer on the breadboard, ensuring there is enough spacing between each component to allow for neat wiring and easy troubleshooting.
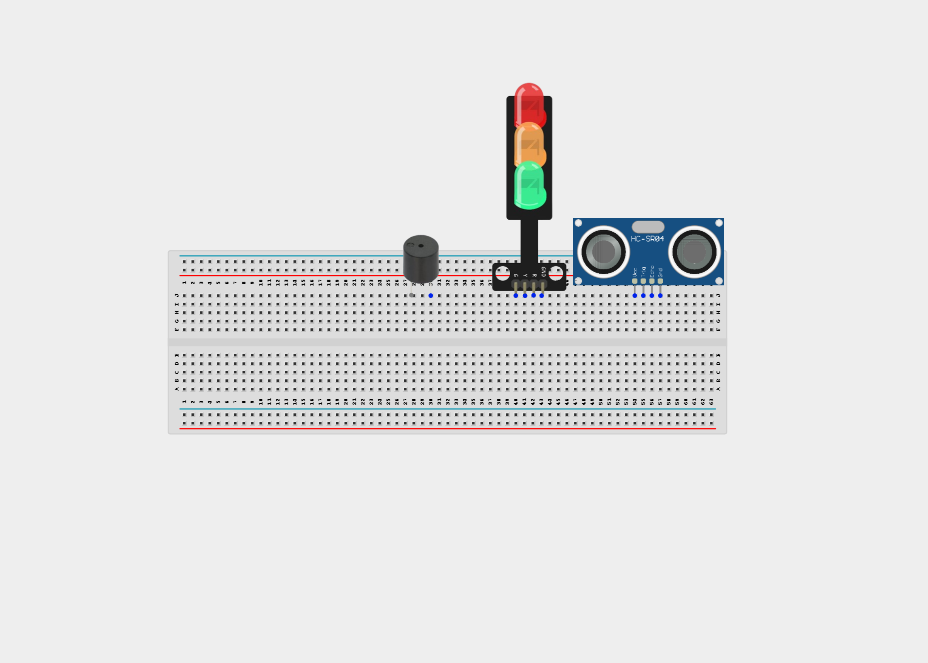
NB: For complex circuits, plan your component placement to minimize wire crossing and ensure clean connections.
WIRING THE CIRCUIT
Step 2: Connect the Ultrasonic Sensor (HC-SR04) to the Arduino Uno by connecting the VCC pin to 5V, the GND pin to GND, the TRIG pin to Digital Pin 9, and the ECHO pin to Digital Pin 10.
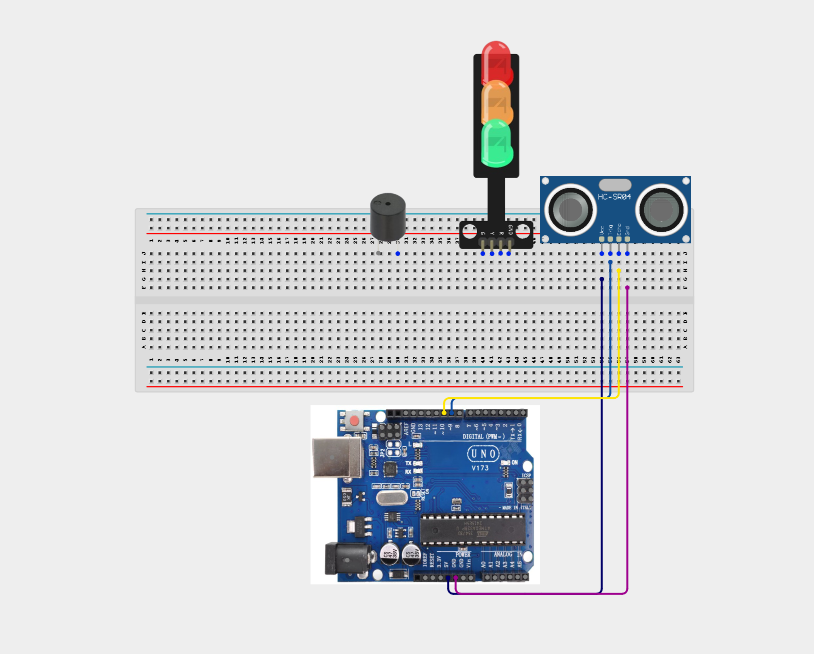
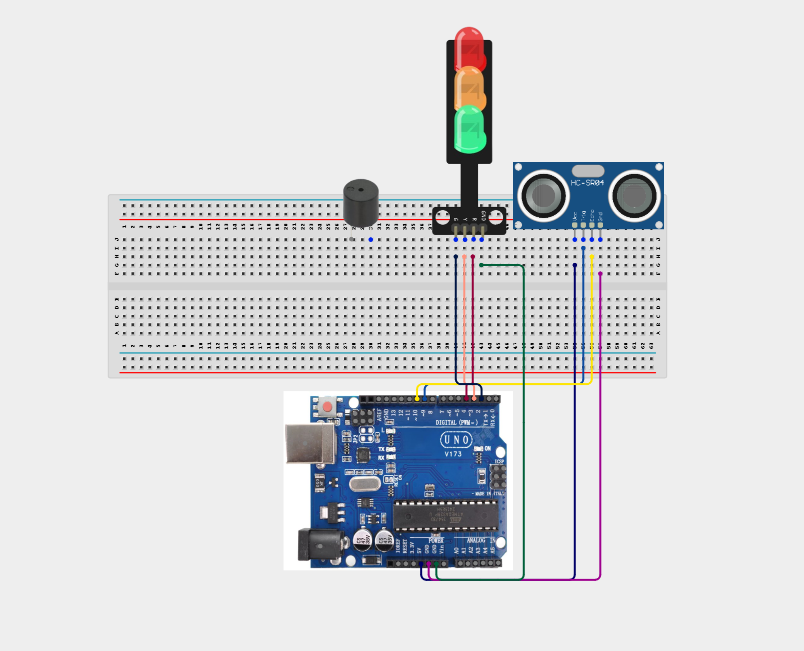
Step 3: Connect the traffic light module:
Traffic Light Module Arduino Uno Red -> Digital Pin 4 Yellow -> Digital Pin 3 Green -> Digital Pin 2 GND -> GND
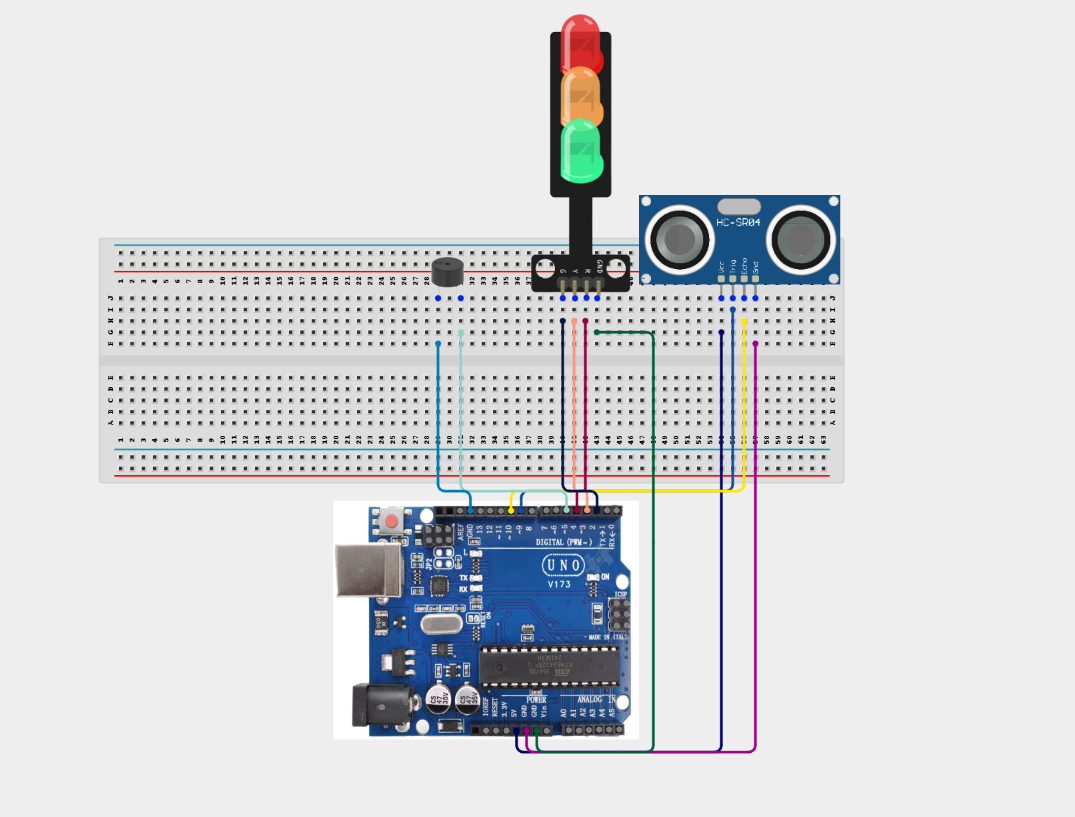
Step 4: Wire the buzzer as follows:
Buzzer Arduino Uno Positive (+) -> Digital Pin 5 Negative (-) -> GND
PROGRAMMING
Step 1: Open your Arduino IDE. See how to set up here: Getting Started.
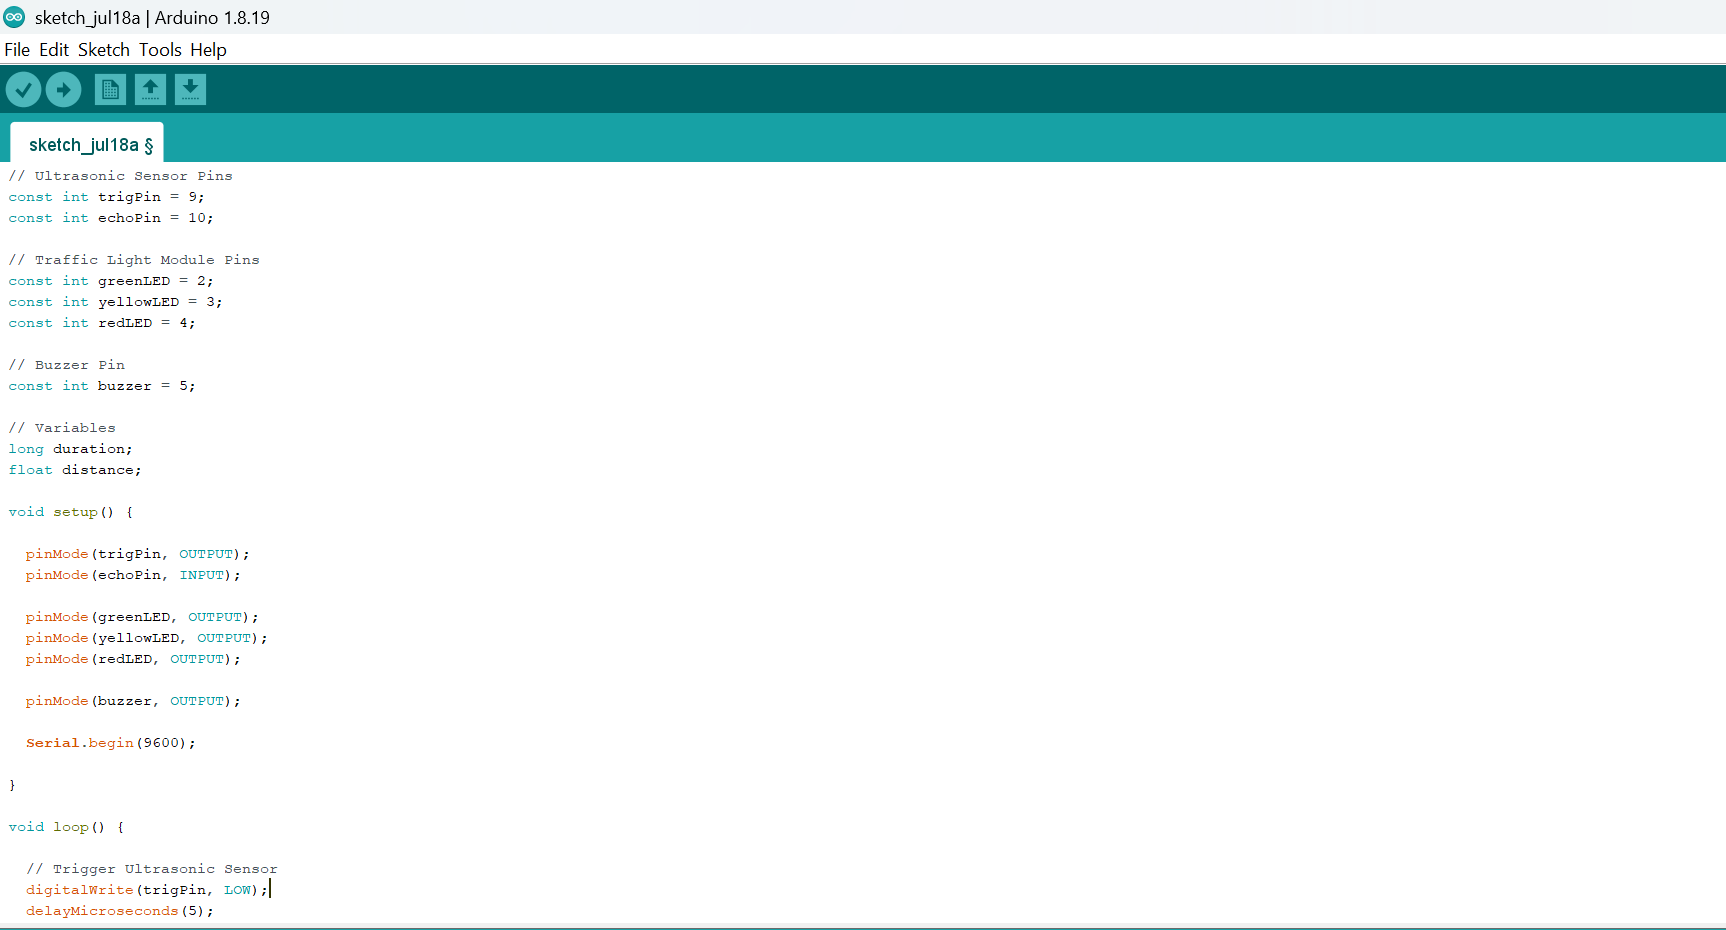
Step 2: Write the complete program implementing the system logic with appropriate pin definitions, setup configuration, and the main control loop.
// Ultrasonic Sensor Pins
const int trigPin = 9;
const int echoPin = 10;

// Traffic Light Module Pins
const int greenLED = 2;
const int yellowLED = 3;
const int redLED = 4;

// Buzzer Pin
const int buzzer = 5;

// Variables
long duration;
float distance;

void setup() {

  pinMode(trigPin, OUTPUT);
  pinMode(echoPin, INPUT);

  pinMode(greenLED, OUTPUT);
  pinMode(yellowLED, OUTPUT);
  pinMode(redLED, OUTPUT);

  pinMode(buzzer, OUTPUT);

  Serial.begin(9600);

}

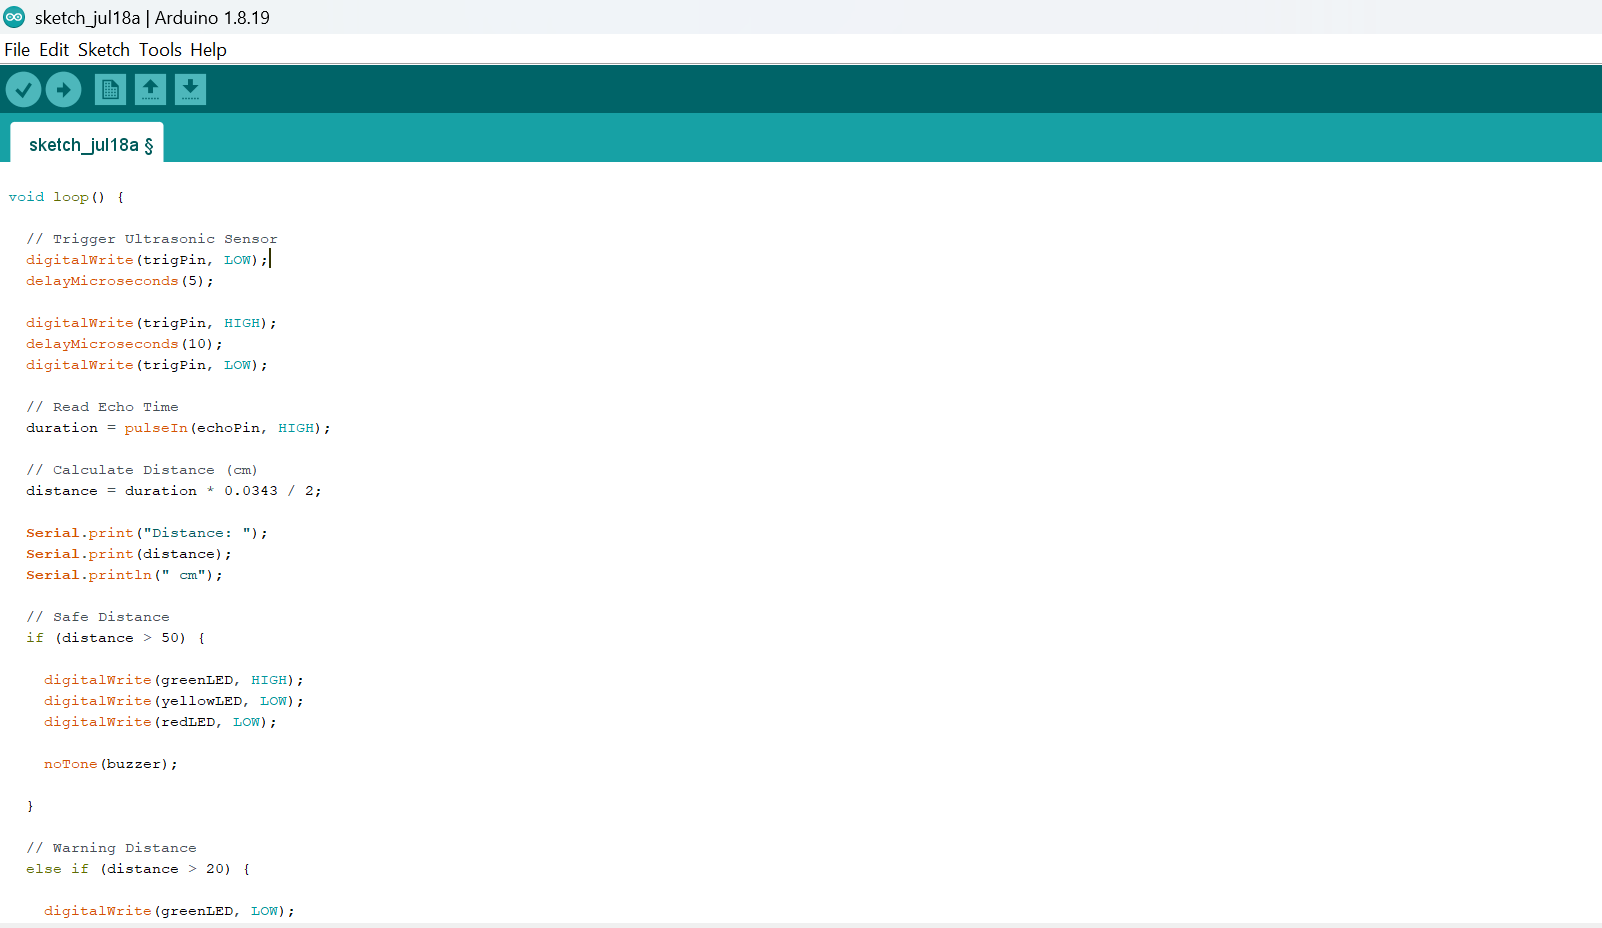
void loop() {

  // Trigger Ultrasonic Sensor
  digitalWrite(trigPin, LOW);
  delayMicroseconds(5);

  digitalWrite(trigPin, HIGH);
  delayMicroseconds(10);
  digitalWrite(trigPin, LOW);

  // Read Echo Time
  duration = pulseIn(echoPin, HIGH);

  // Calculate Distance (cm)
  distance = duration * 0.0343 / 2;

  Serial.print("Distance: ");
  Serial.print(distance);
  Serial.println(" cm");

  // Safe Distance
  if (distance > 50) {

    digitalWrite(greenLED, HIGH);
    digitalWrite(yellowLED, LOW);
    digitalWrite(redLED, LOW);

    noTone(buzzer);

  }

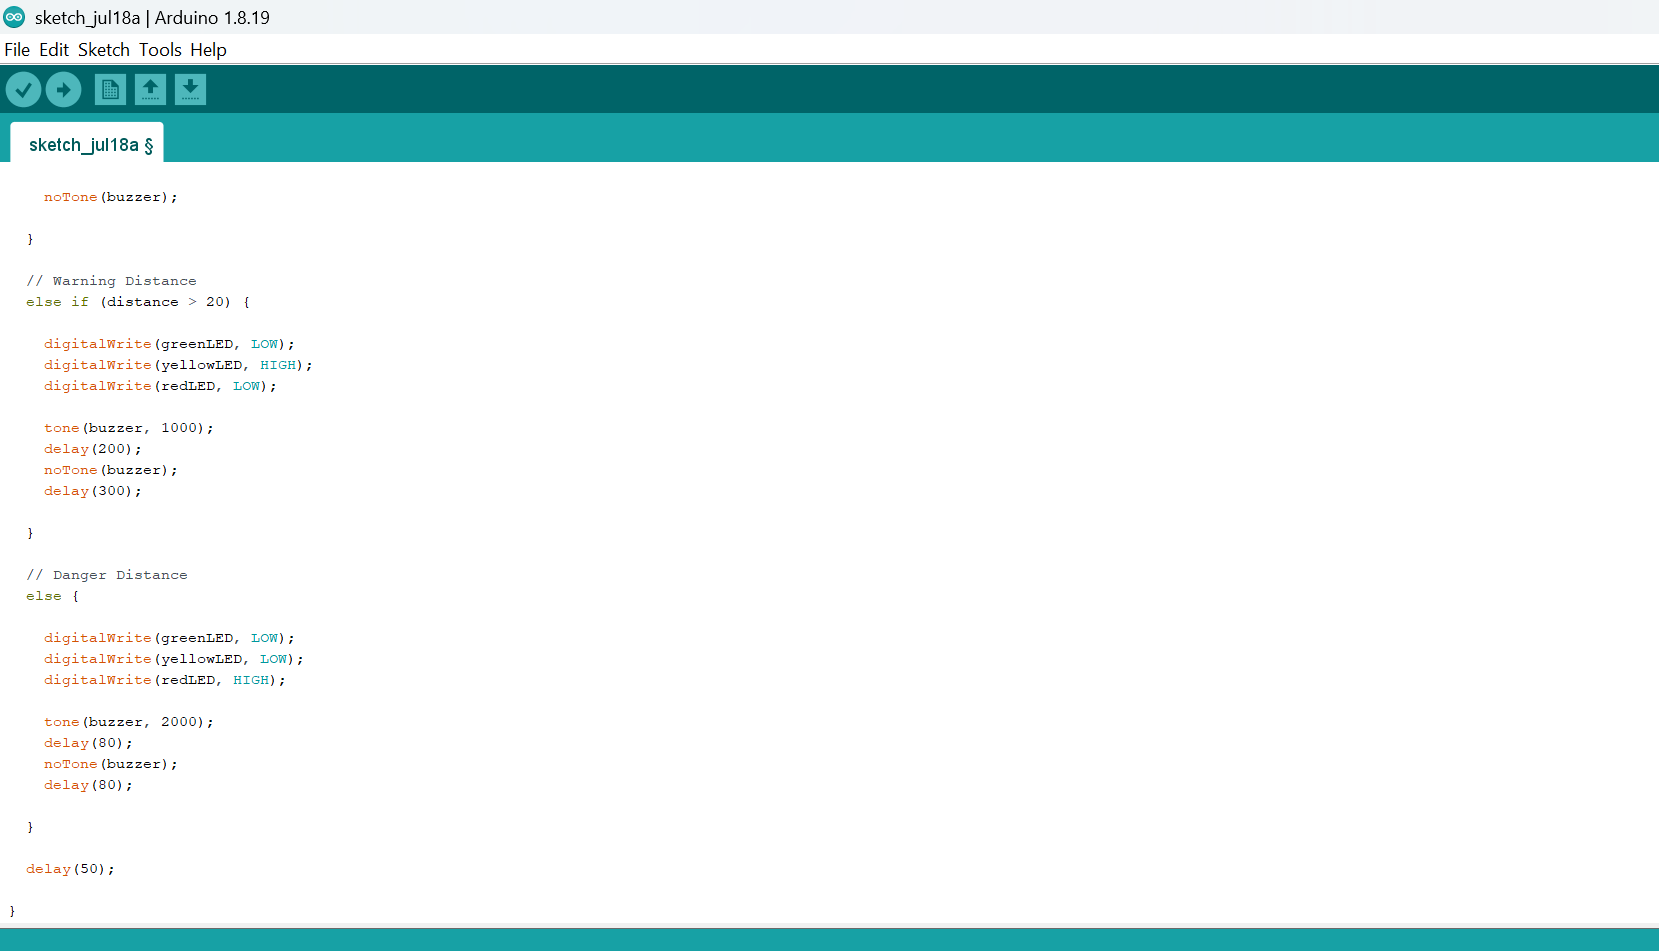
  // Warning Distance
  else if (distance > 20) {

    digitalWrite(greenLED, LOW);
    digitalWrite(yellowLED, HIGH);
    digitalWrite(redLED, LOW);

    tone(buzzer, 1000);
    delay(200);
    noTone(buzzer);
    delay(300);

  }

  // Danger Distance
  else {

    digitalWrite(greenLED, LOW);
    digitalWrite(yellowLED, LOW);
    digitalWrite(redLED, HIGH);

    tone(buzzer, 2000);
    delay(80);
    noTone(buzzer);
    delay(80);

  }

  delay(50);

}
Step 3: Save your code. See the Getting Started section
Step 4: Select the arduino board and port See the Getting Started section:Selecting Arduino Board Type and Uploading your code.
Step 5: Upload your code. See the Getting Started section:Selecting Arduino Board Type and Uploading your code
CONCLUSION
This project demonstrates how multiple input and output devices can work together to create an intelligent parking assistance system. It strengthens understanding of distance sensing, conditional programming, and real-world automation applications.