Project 1.2.3: Piezo Beep Code Generator
| Description | This project shows how to play alternating high and low frequency tones on a piezo buzzer using the tone() function to generate different sound patterns. |
|---|---|
| Use case | This project can be used in sound notification systems, alarm devices, and audio feedback applications. |
Components (Things You will need)
 |
 |
 |
 |
 |
|---|---|---|---|---|
Building the circuit
Things Needed:
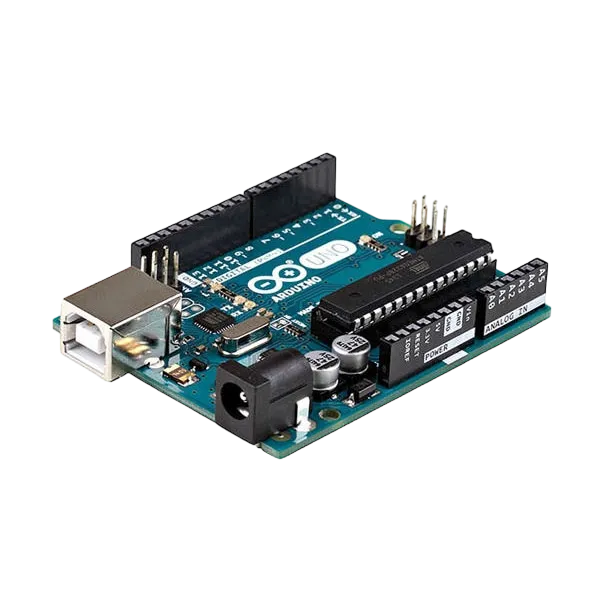
- Arduino Uno = 1
- Arduino USB cable = 1
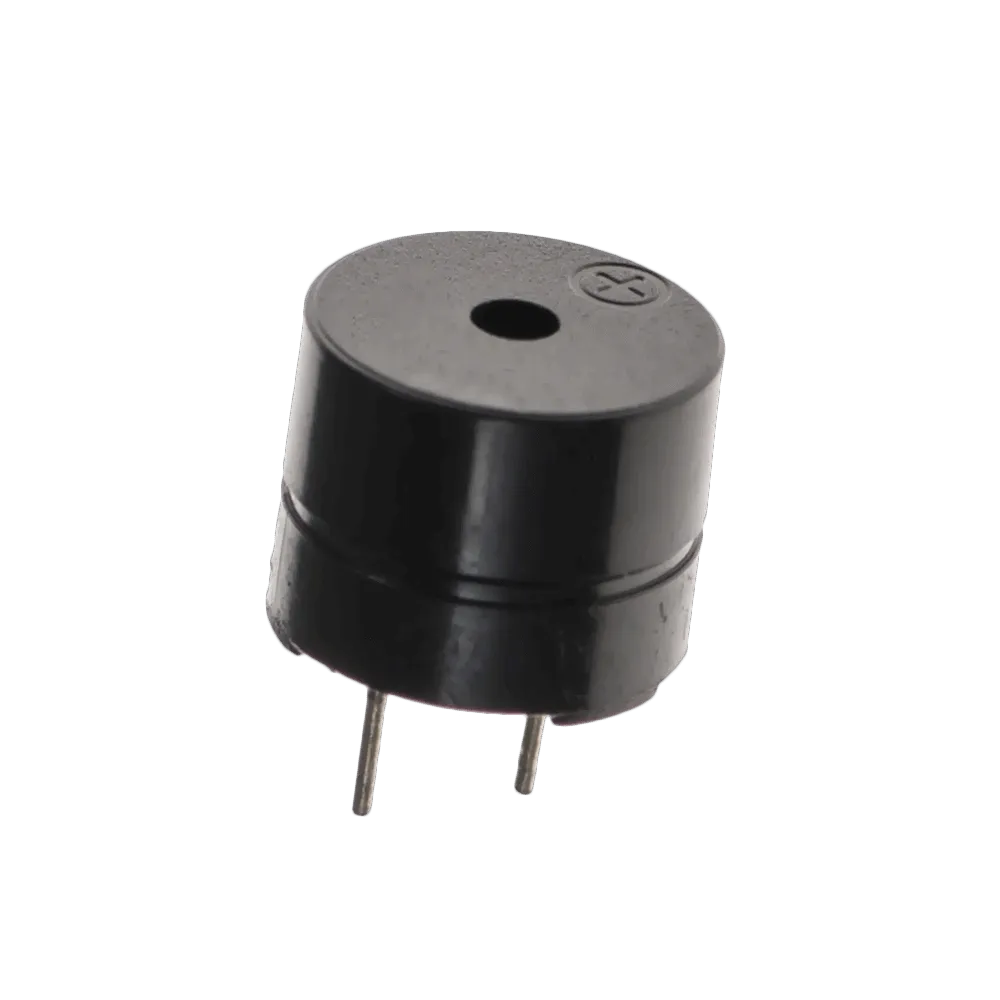
- Buzzer = 1
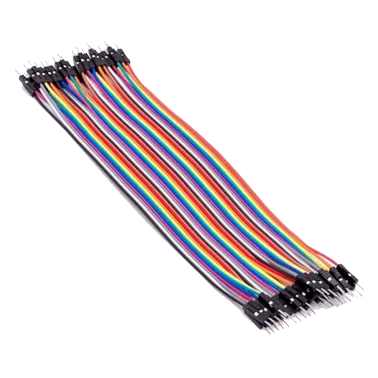
- Jumper wires
Mounting the component on the breadboard
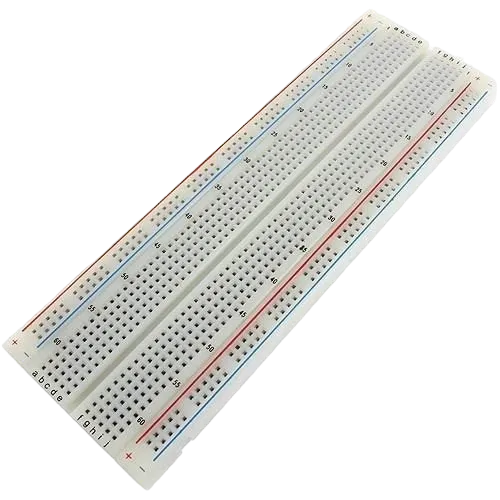
Step 1: Place the buzzer on the breadboard. The longer pin is the positive pin.
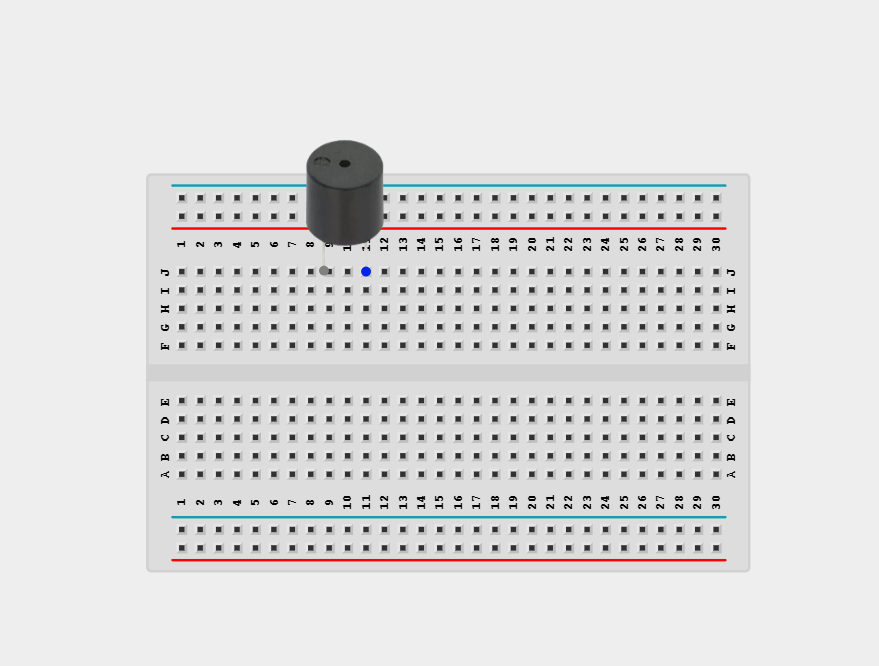
NB: Make sure you identify the correct pin connections for the component.
WIRING THE CIRCUIT
Step 2: Connect the component to the appropriate pins on the Arduino Uno using jumper wires. Using the red jumper wire, connect the positive pin to digital pin 3 on the Arduino Uno board.

Step 3: Connect the negative pin to the GND on the Arduino Uno board using the blue jumper wire.
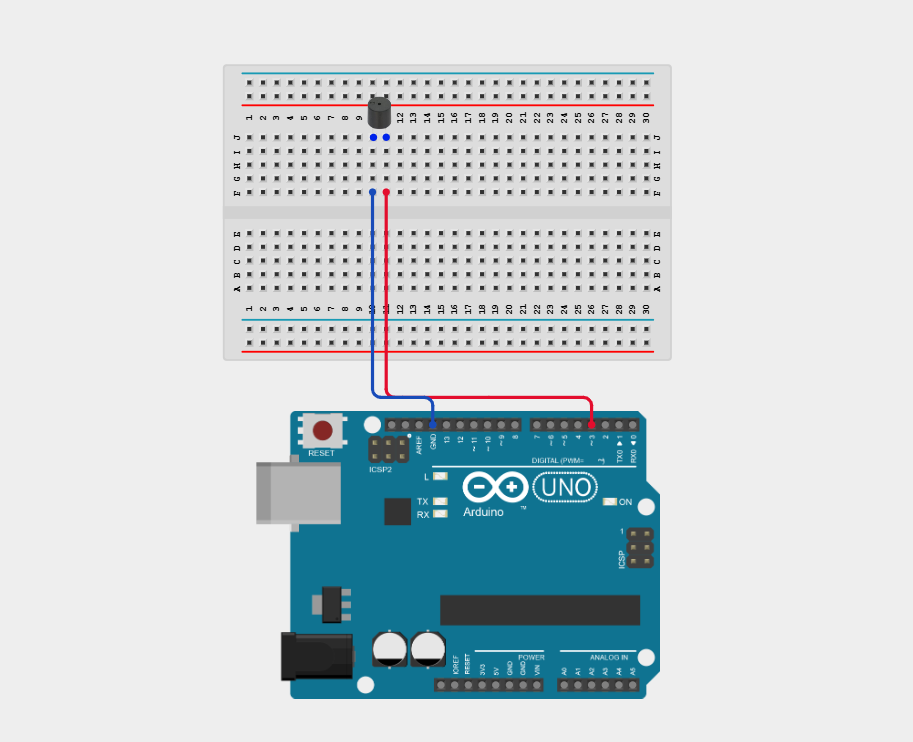
Make sure to connect the Arduino USB cable to the Arduino board.
PROGRAMMING
Step 1: Open your Arduino IDE. See how to set up here: Getting Started.
Step 2: Type int buzzerPin = 3;
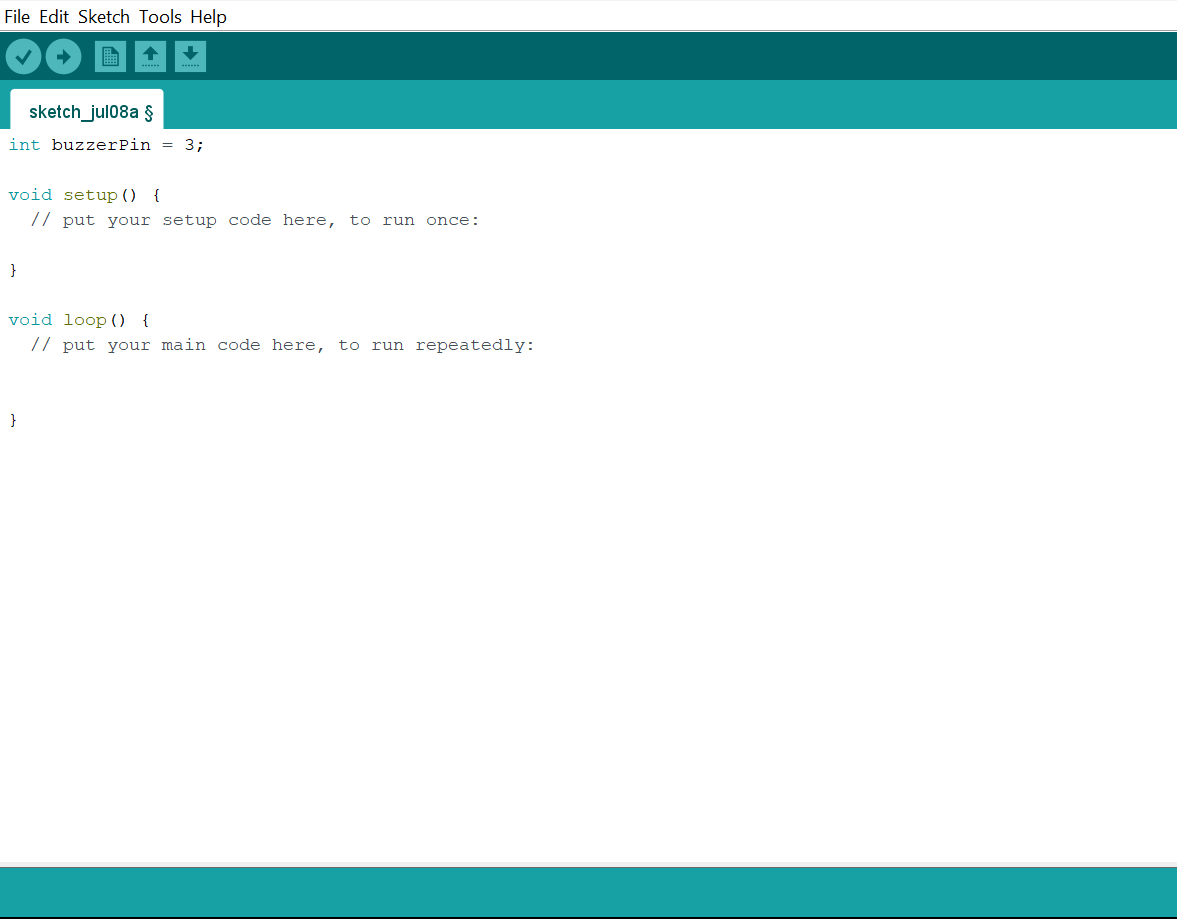
NB: Declare the buzzer pin
Step 3: Type pinMode(buzzerPin, OUTPUT); inside the void setup(){} function.

NB: Set buzzer pin as output
Step 4: Type tone(buzzerPin, 1000); inside the void loop(){} function.
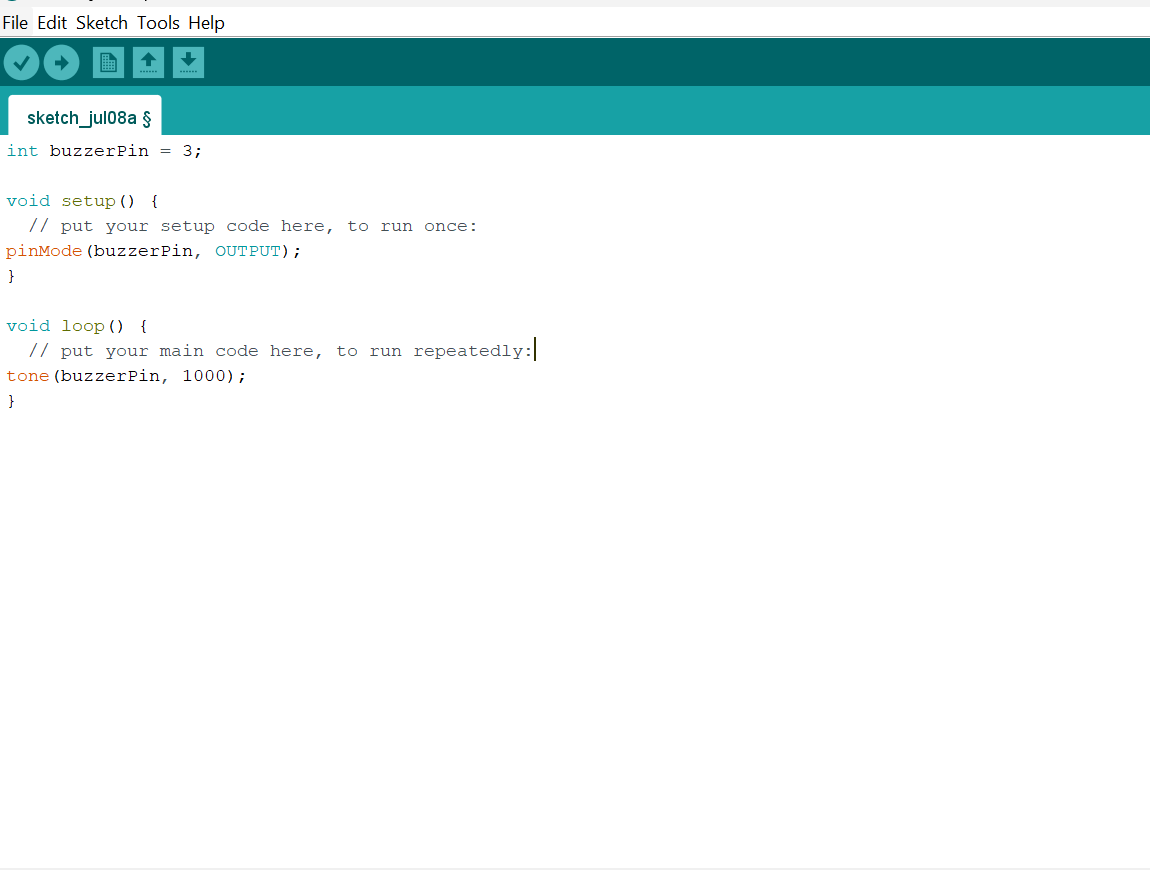
NB: Play a 1000 Hz tone
Step 5: Type delay(500);
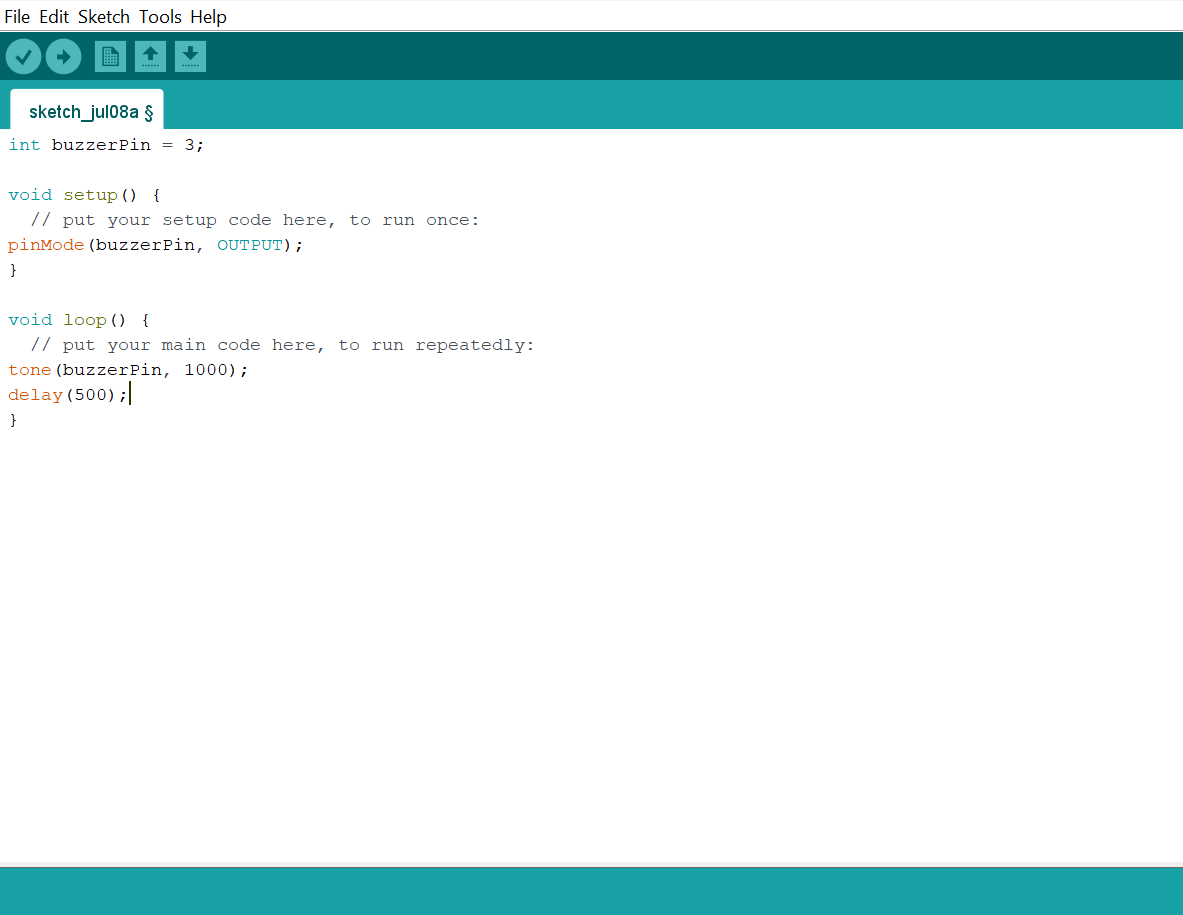
NB: Wait for 500ms
Step 6: Type noTone(buzzerPin);

NB: Stop the tone
Step 7: Type delay(500);
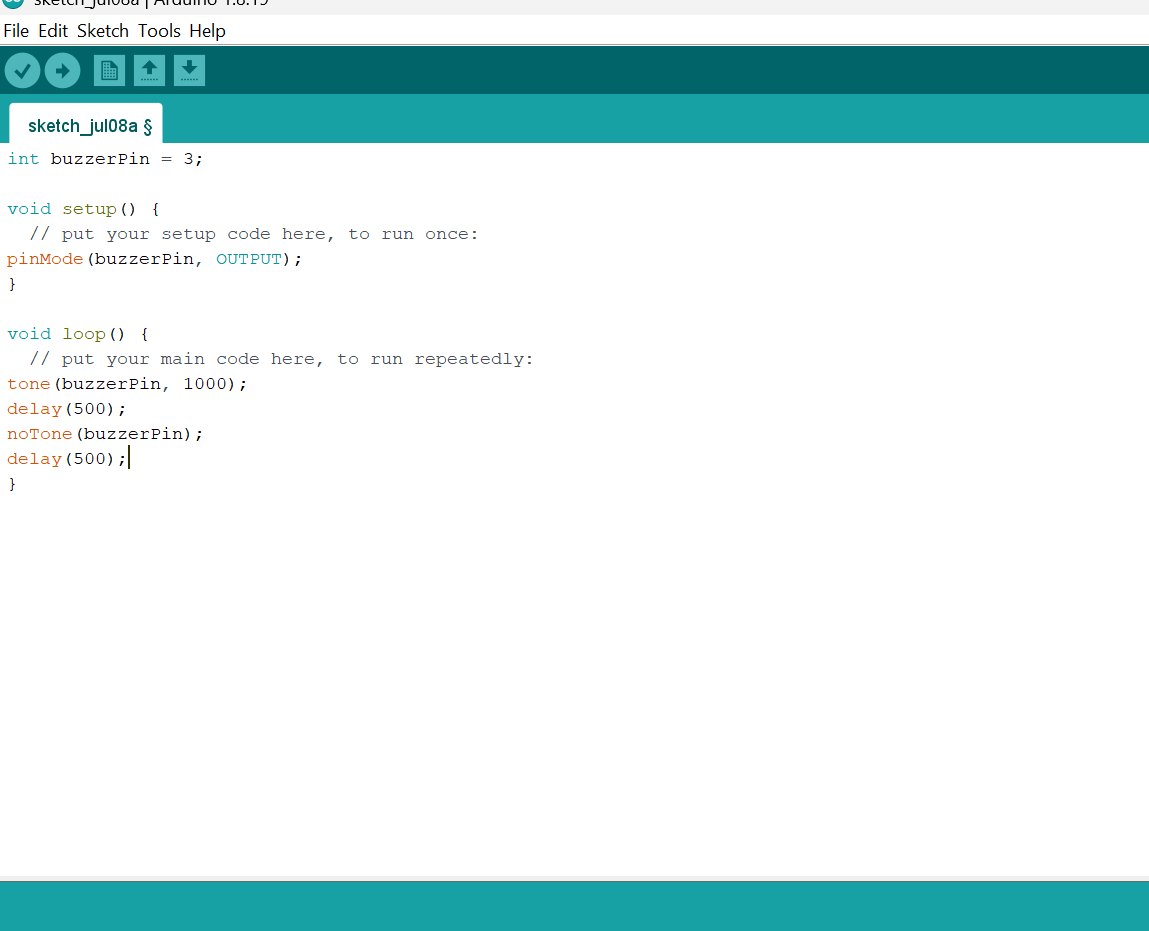
NB: Wait for 500ms
Step 8: Type tone(buzzerPin, 2000);
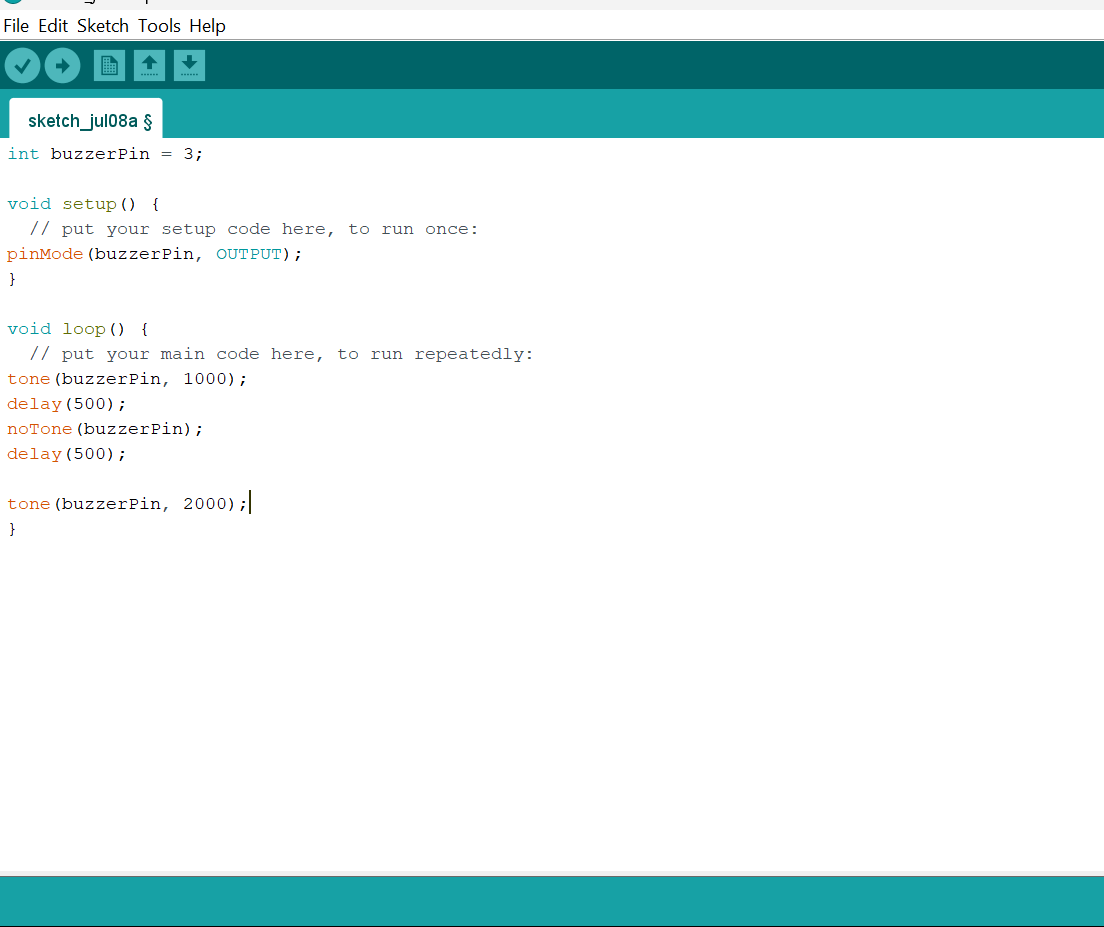
NB: Play a 2000 Hz tone
Step 9: Type delay(500);

NB: Wait for 500ms
Step 10: Type noTone(buzzerPin);

NB: Stop the tone
Step 11: Type delay(500);

NB: Wait for 500ms
Step 4: Save your code. See the Getting Started section
Step 5: Select the Arduino board and port. See the Getting Started section
Step 6: Upload your code.
Step 7: Open the Serial Monitor (Tools > Serial Monitor) to view the output.
CONCLUSION
This project helps learners understand how to interface with Buzzer using Arduino. It introduces essential concepts in electronic circuits and embedded system programming.