Project 1.12.2: Analog Dial Positioner
| Description | This project shows how to read the analog output of a rotary potentiometer and map the value to a meaningful scale such as percentage displayed on the Serial Monitor. |
|---|---|
| Use case | This project can be used in volume control knobs, dimmer switches, and any application requiring variable analog input. |
Components (Things You will need)
 |
 |
 |
 |
 |
|---|---|---|---|---|
Building the circuit
Things Needed:
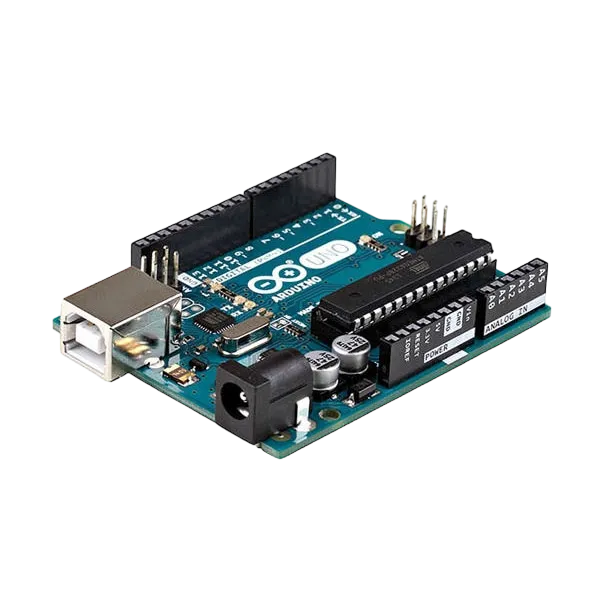
- Arduino Uno = 1
- Arduino USB cable = 1
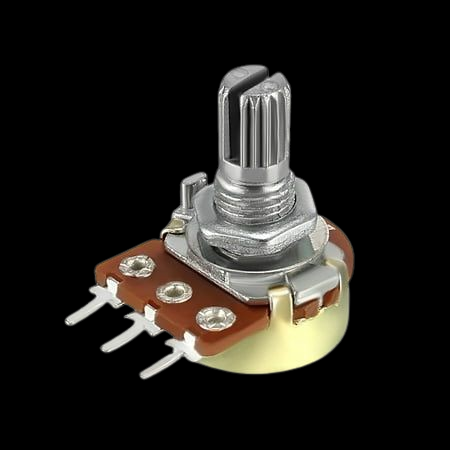
- Potentiometer = 1
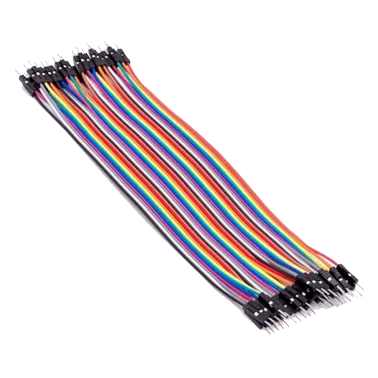
- Jumper wires
Mounting the component on the breadboard
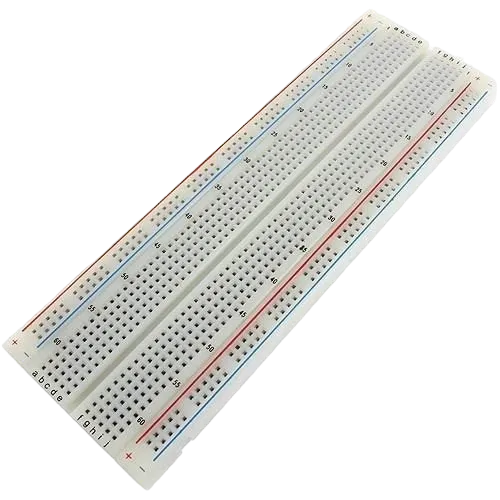
Step 1: Place the potentiometer on the breadboard.

NB: Make sure you identify the correct pin connections for the component.
WIRING THE CIRCUIT
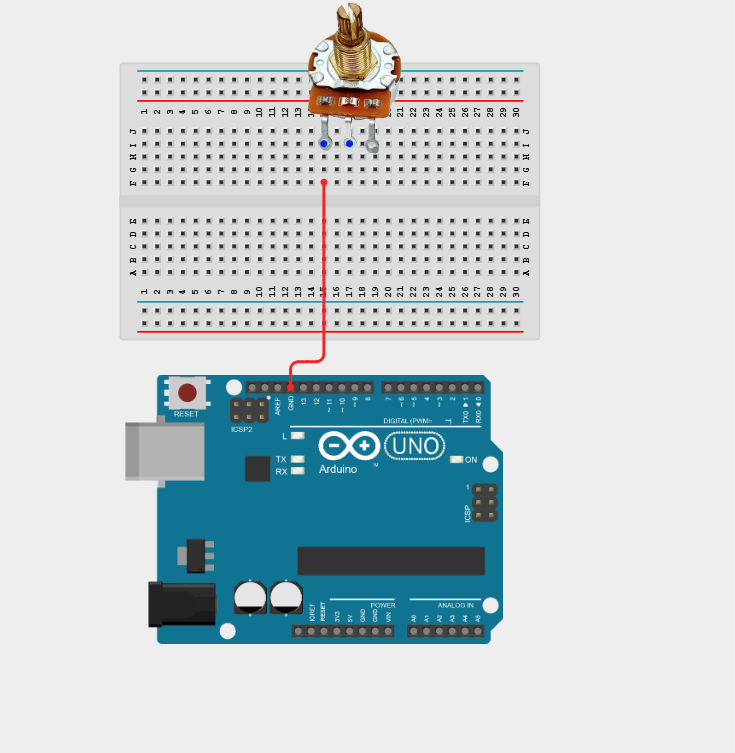
Step 2: Connect the red jumper wire from the left pin (Pin 1) of the potentiometer to a GND pin on your Arduino Uno.
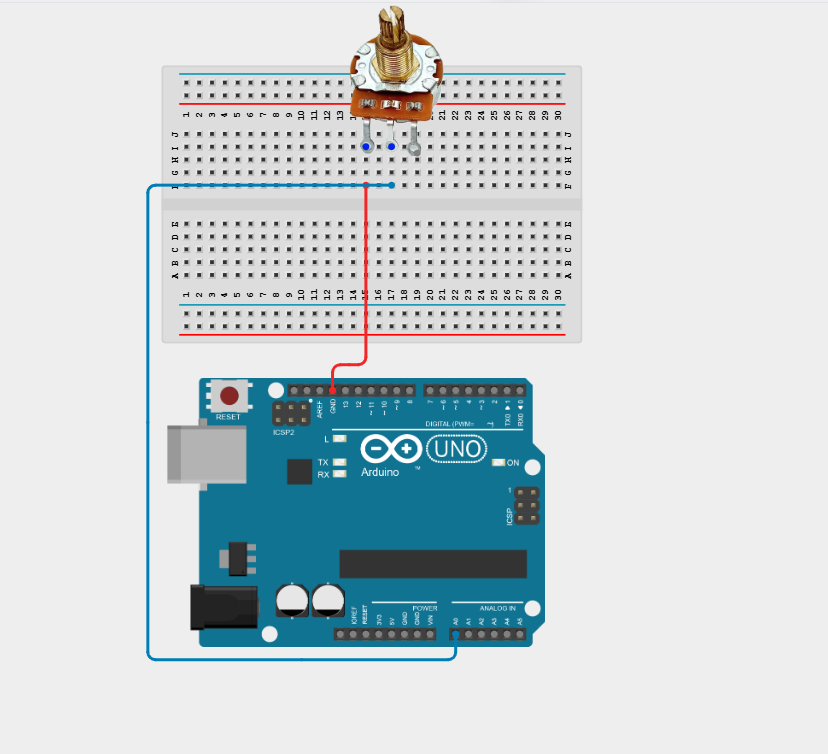
Step 3: Connect the blue jumper wire from the middle pin (Pin 2) of the potentiometer to the A0 pin on the analog side of your Arduino Uno.
Step 4: Connect the green jumper wire from the right pin (Pin 3) of the potentiometer to the 5V pin on your Arduino Uno.

Make sure to connect the Arduino USB cable to the Arduino board.
PROGRAMMING
Step 1: Open your Arduino IDE. See how to set up here: Getting Started.
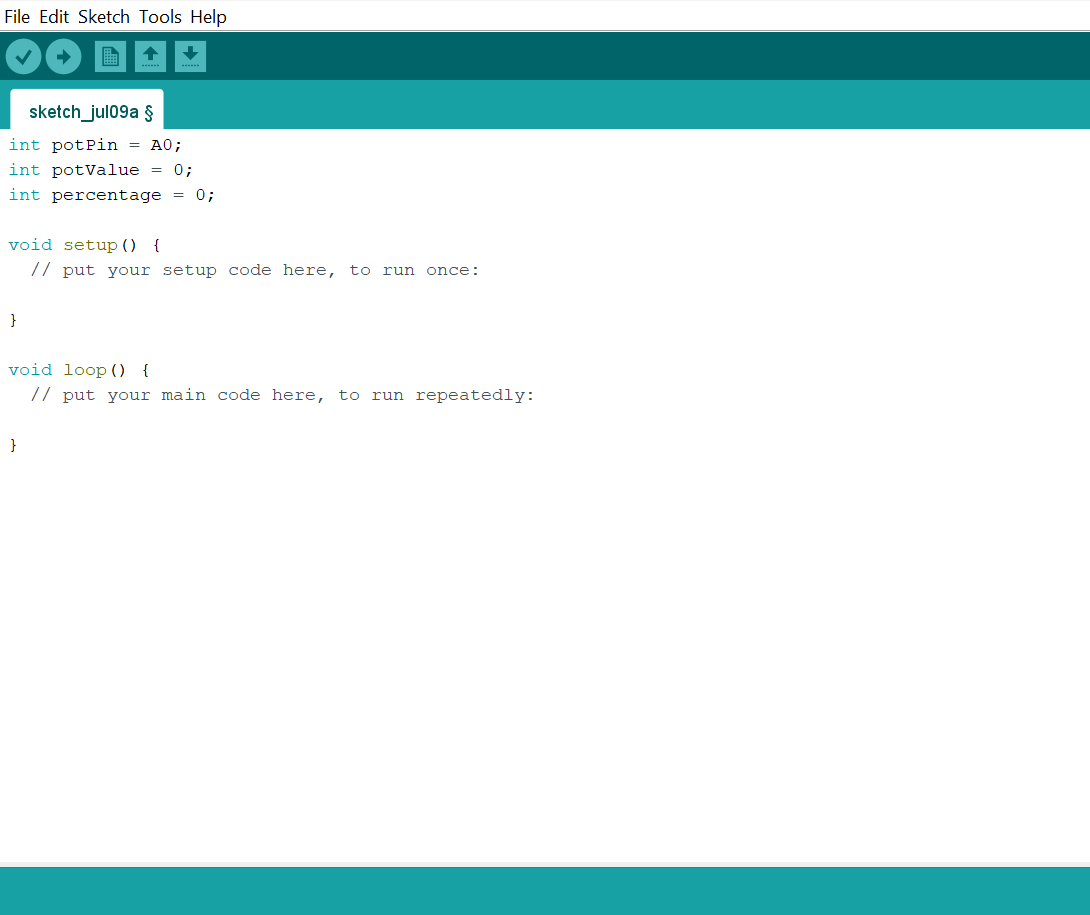
Step 2: Type int potPin = A0;, int potValue = 0;, int percentage = 0; as shown in the image below.
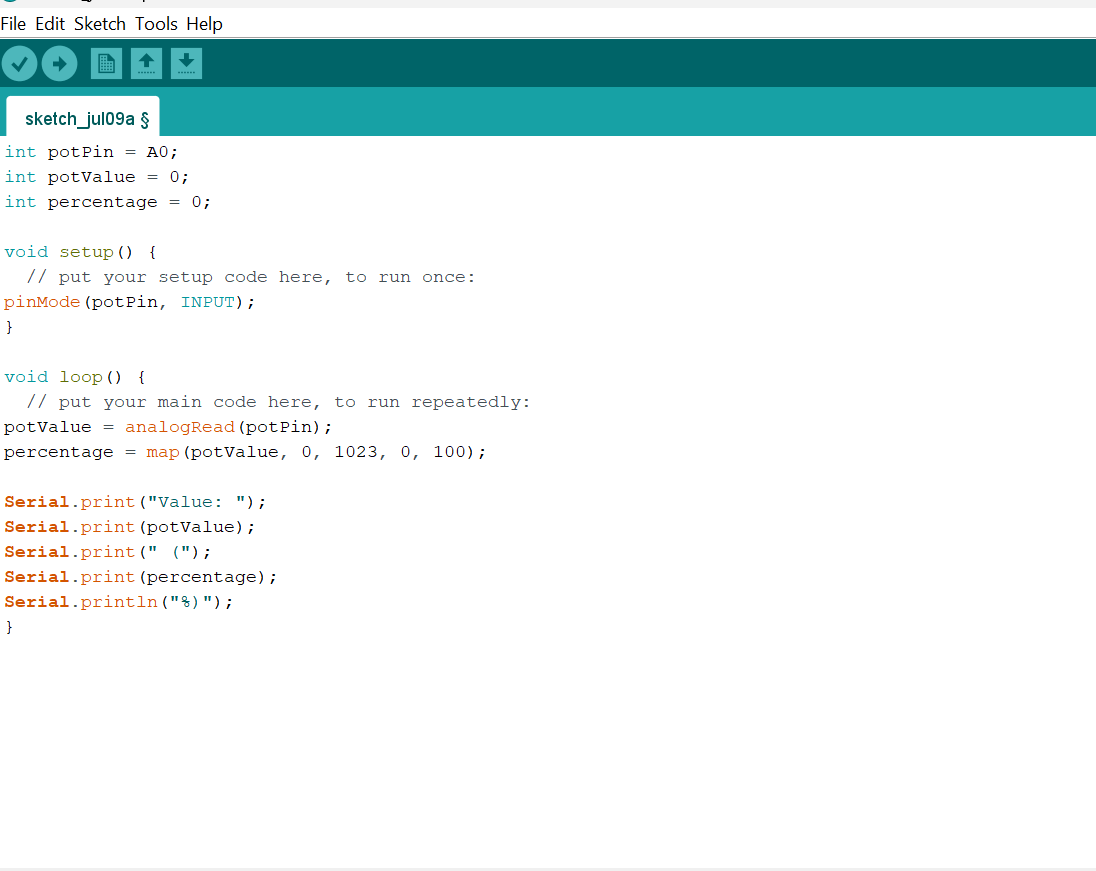
Step 3: Type pinMode(potPin, INPUT); inside the void setup() as shown in the image below.

Step 4: Type potValue = analogRead(potPin);, percentage = map(potValue, 0, 1023, 0, 100); inside the void loop() as shown in the image below.

Step 5: Type Serial.print("Value: "); Serial.print(potValue); Serial.print(" ("); Serial.print(percentage); Serial.println("%)"); as shown in the image below.
Uploadding your code
Step 1: Save your code. See the Getting Started section
Step 2: Select the Arduino board and port. See the Getting Started section
Step 3: Upload your code.
Step 4: Open the Serial Monitor (Tools > Serial Monitor) to view the output.
Conclusion
This project helps learners understand how to interface with Potentiometer using Arduino. It introduces essential concepts in electronic circuits and embedded system programming.